SPI Foundation in Photography Course
Module 2: Getting the right exposure

Module 2: Getting the right exposure
20 January 2008
This module was all about exposure. The images had to be submitted straight from the camera without any post-capture manipulation.

Other Modules

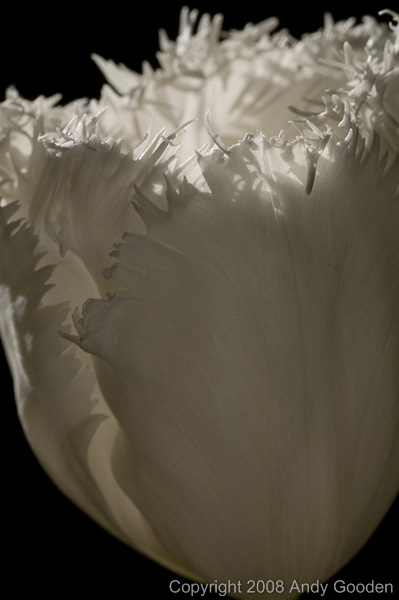
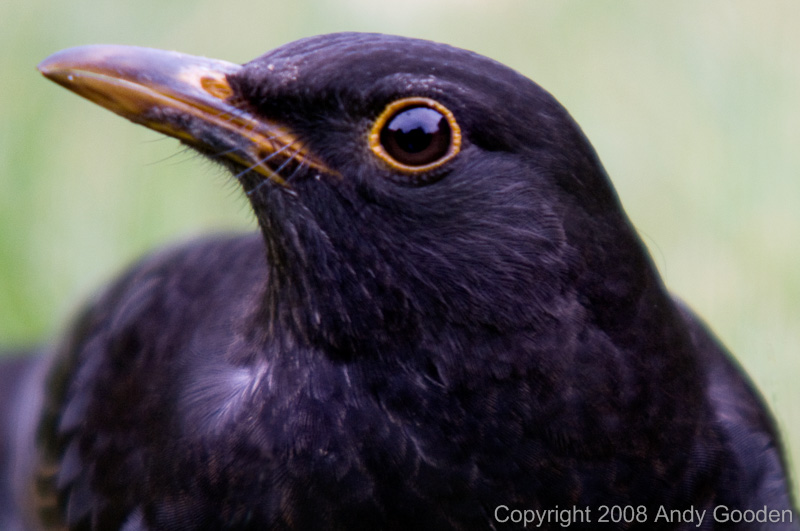
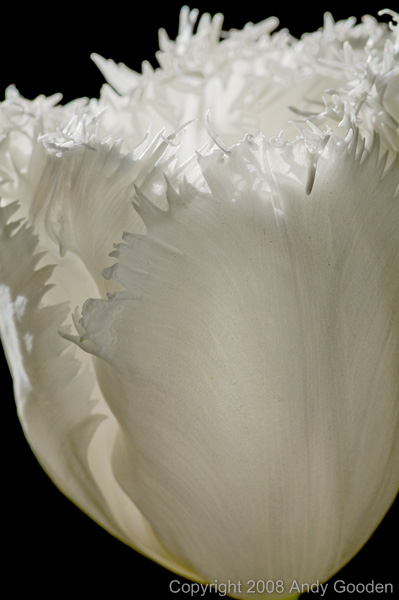
Exercise 1:: Photographing black, white and grey objects
This exercise involved taking 3 pictures, one of a black object, one of a white object and one of a grey object. The objects had to fill the frame and no exposure compensation was allowed.
<b>Exercise 1:</b>: Photographing black, white and grey objects<br />Black Object - f/5.6 at 1/50sec<br>This blackbird was shot in my back garden using a small tent as a 'hide'. The very dark feathers on this bird have fooled the camera into over-exposing the shot causing the bird to appear much lighter than it should.
<b>Exercise 1:</b>: Photographing black, white and grey objects<br />White Object - f/22 at 1/125sec<br>Following the feedback from module 1, I decided to back light this white tulip and use a reflector to bounce some light back onto the front of the flower.  Although some of the highlights at the top of the scene have come out white, most of the petals have been represented darker than they actually are.
<b>Exercise 1:</b>: Photographing black, white and grey objects<br />Grey Object - f/16 at 1/25sec<br>This image shows part of the superstructure of a ship.  The tones in this image are very close to the tones of the original object.
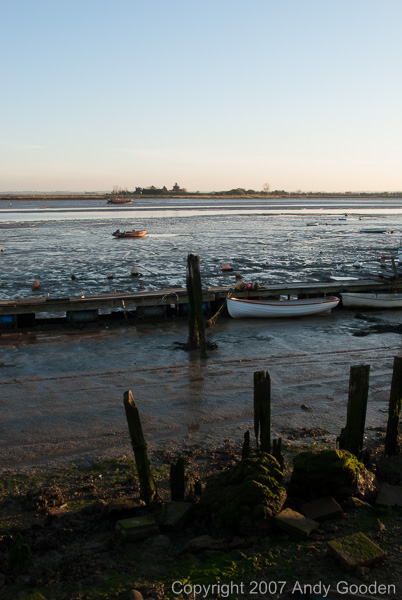
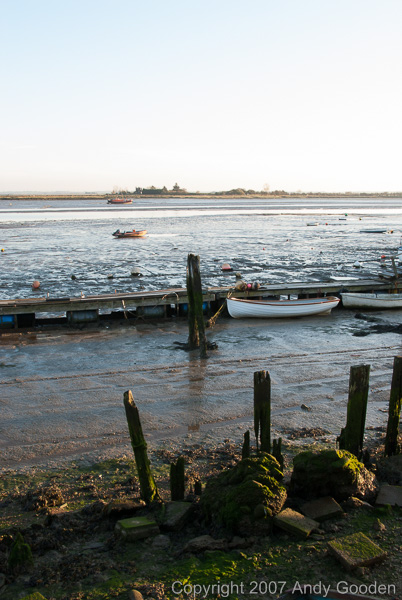
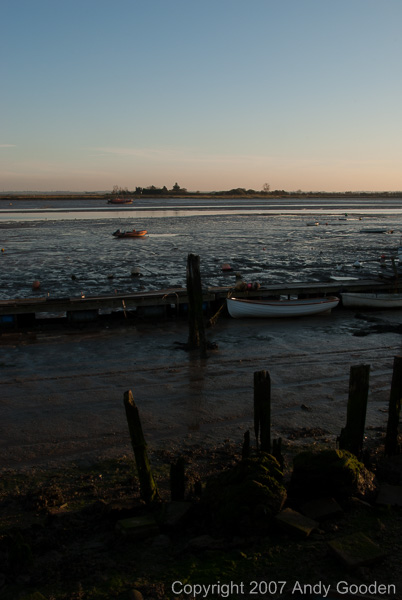
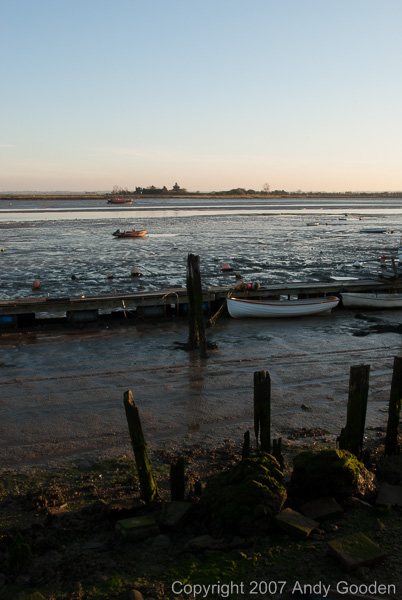
Exercise 2: Using different metering methods
This exercise involved taking 4 images of the same scene using different metering methods - centre weighted, spot, matrix and incident.
<b>Exercise 2:</b> Using different metering methods<br />Centre-weighted method - f/16 at 1/13sec<br>Although the shadows have come out quite dark using centre-weighted metering, I think this method has produced the most accurate exposure overall as the balance between highlight and shadow detail is much nicer. I think this is due to the predominance of mid tones in the centre of the scene.
<b>Exercise 2:</b> Using different metering methods<br />Spot method - f/16 at 1/5sec<br>The spot reading was taken on the dark post in the centre of the scene and has produced an image that is slightly over exposed. Using a different part of the scene to meter from would have produced a very different result.  For example, metering from the sky or the white boat tethered to the post would have caused the image to be severely under-exposed while metering from a mid tone such as the wooden walkway would probably have given a more accurate exposure.
<b>Exercise 2:</b> Using different metering methods<br />Matrix method - f/16 at 1/6sec<br>The matrix method has done slightly better than the spot method but has still lost too much highlight detail - especially in the sky.  I think the camera has tried to salvage detail in the dark areas of the scene at the expense of the highlights.  To get an accurate exposure using this method I could have either dialed in a stop of under exposure or repositioned the camera to take a meter reading with more light areas and then recompose before shooting.
<b>Exercise 2:</b> Using different metering methods<br />Grey card method - f/16 at 1/30sec<br>Using the grey card method has held more of the detail in the sky and highlight areas of the scene than the other methods but the overall image is not very bright and the shadow areas are too dark.  I expected this method to produce the most accurate exposure but I think that, because the subject was quite a long way away from where I held the grey card, the light hitting the card may not have been the same intensity as the light hitting the subject.  The other (and more likely) possibility is that, as I have not used a grey card before, I may not have used it correctly.
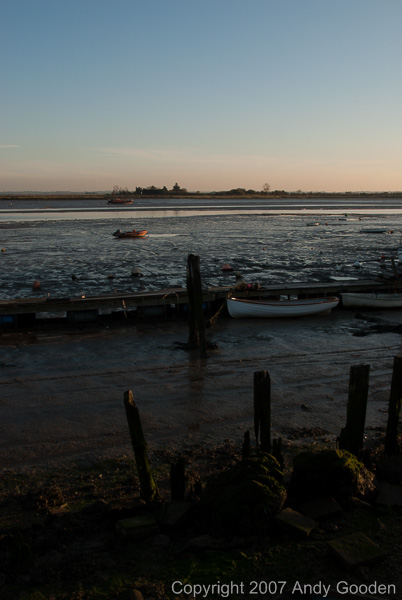
Exercise 3: Using a grey card to get an incident light reading
This exercise involved taking 3 more images of the same scene used in exercise 2 using a grey card to get an incident light reading. The exposure was then bracketed one stop either side of this reading.
<b>Exercise 3:</b> Using a grey card to get an incident light reading<br />Grey card 'correct' exposure - f/16 at 1/30sec<br>As I found in exercise 2, the 'correct' exposure using the grey card method of metering, while holding detail in the sky and highlight areas of the scene extremely well, has resulted in the overall image being too dark.
<b>Exercise 3:</b> Using a grey card to get an incident light reading<br />Grey card one stop more - f/16 at 1/15sec<br>I prefer the image that has one stop more exposure as this has produced a brighter overall image without blowing out too much of the highlight detail.  Also, the side-light hitting the rocks and posts in the foreground in this exposure is more pronounced making these features look more interesting.
<b>Exercise 3:</b> Using a grey card to get an incident light reading<br />Grey card one stop less - f/16 at 1/60sec<br>The one stop less exposure has produced an image that is much too dark.
Reworked images
I wasn't allowed to do any post capture processing on the images submitted for this module but I felt some of the images deserved some extra attention. These images were not submitted as part of the course...
<b>Reworked images</b><br />I was not allowed to do any post capture processing on the images submitted for the course but I thought this image deserved some enhancement.
<b>Reworked images</b><br />This was another image that I thought deserved some extra attention.
<b>Reworked images</b><br />

To view the album, click on a thumbnail. You can navigate through the pictures using the arrow keys on your keyboard or by clicking the 'Prev' or 'Next' links.
You can resize the photos by dragging the handle on the bottom right corner and move them around by dragging anywhere on the image. Click on another thumnail to see two or more images at once.
Keyboard shortcuts:
Home - Jump to first image
Right or Down arrow - Next image
Left or Up arrow - Previous image
End - Jump to last image
Esc - Close current image
Copyright © 2008 Andy Gooden