North Norfolk Coast
6-10 February 2014
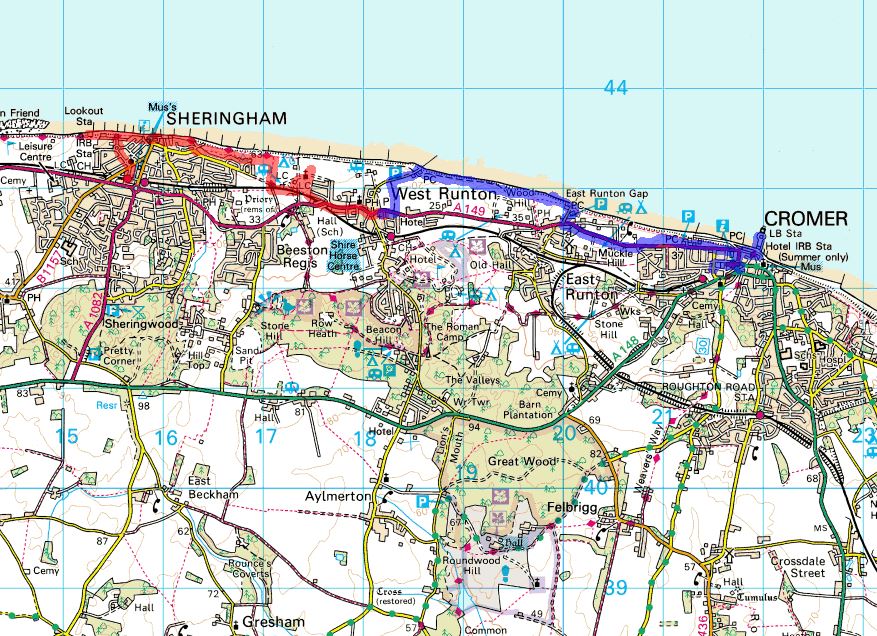
- Day 1: Cromer and Sheringham
- Day 2: Morston to Stiffkey
- Day 3: Cromer to Overstrand
- Day 4: Windmills and Seals
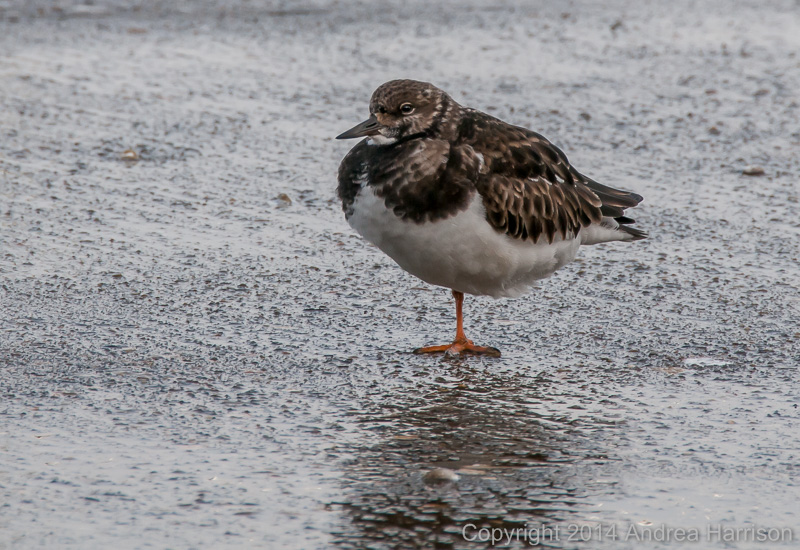
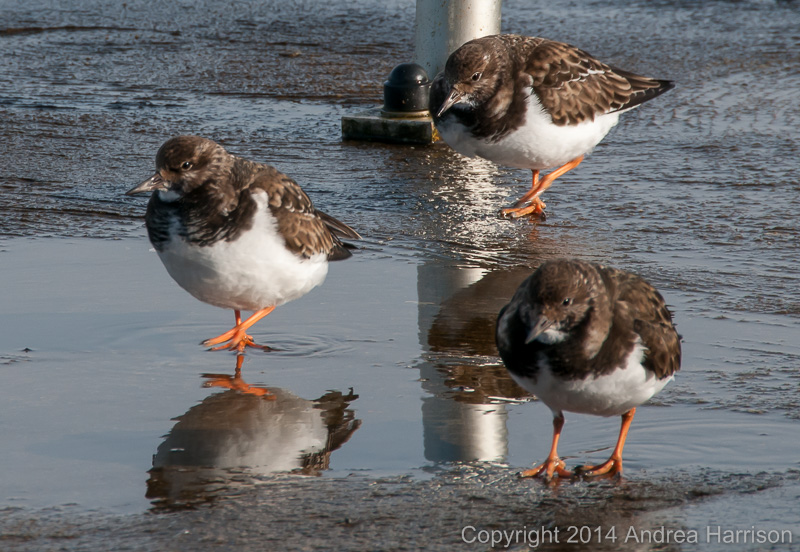
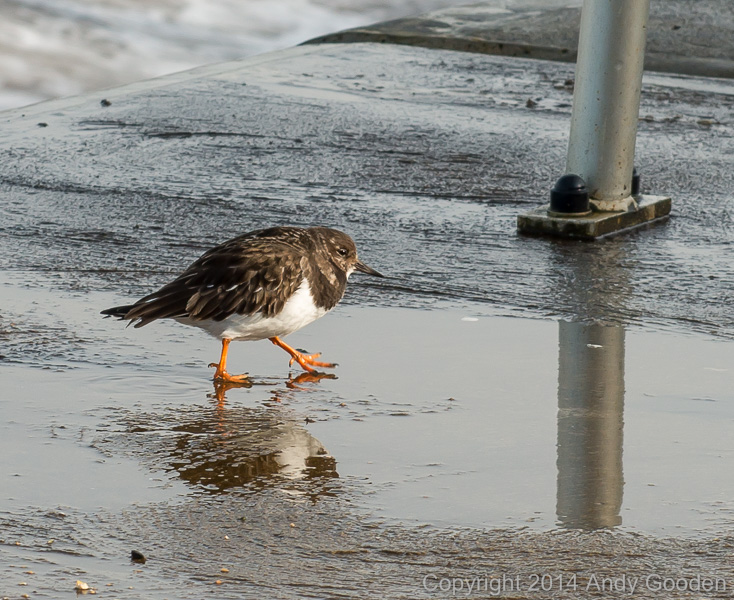
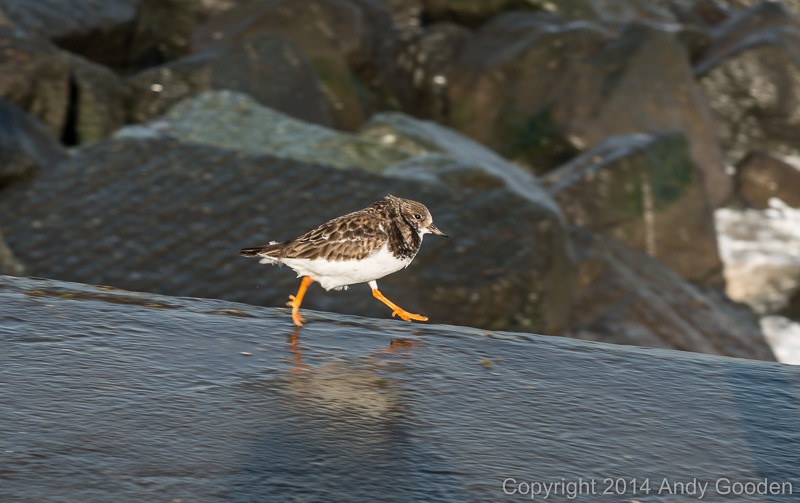
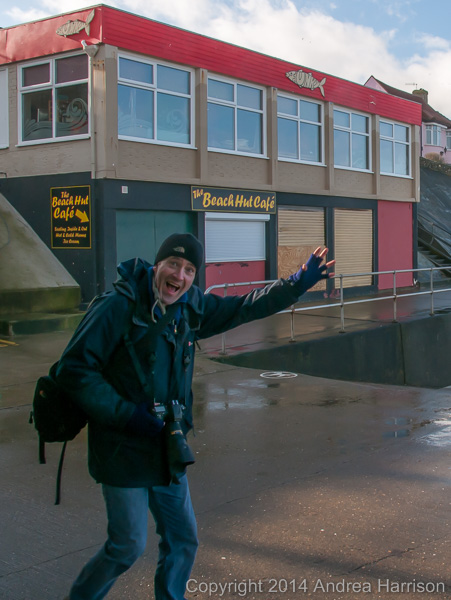
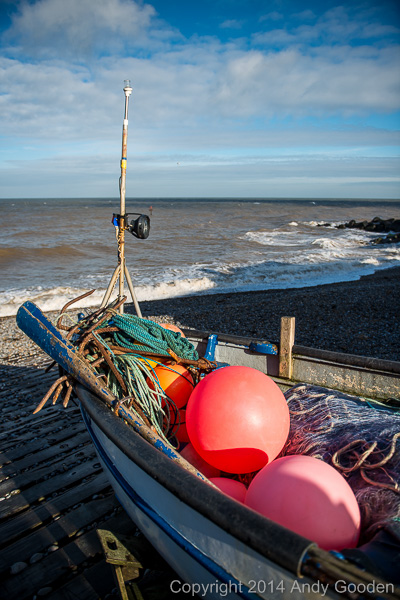
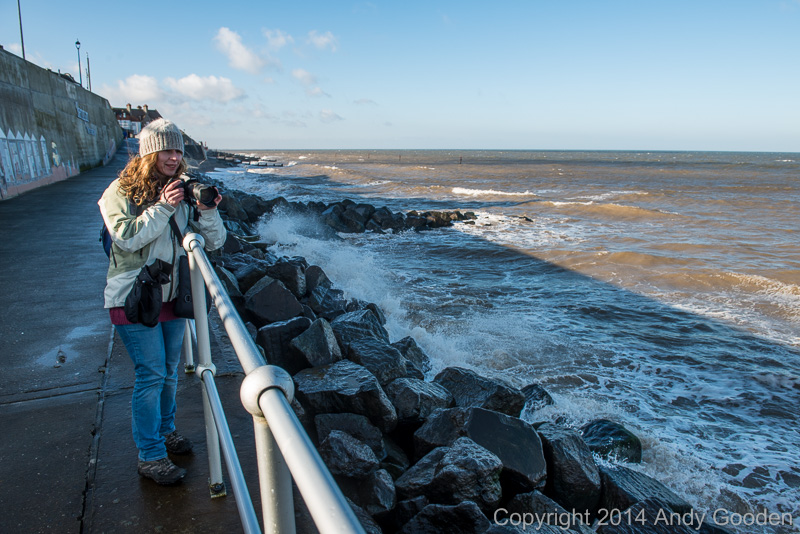
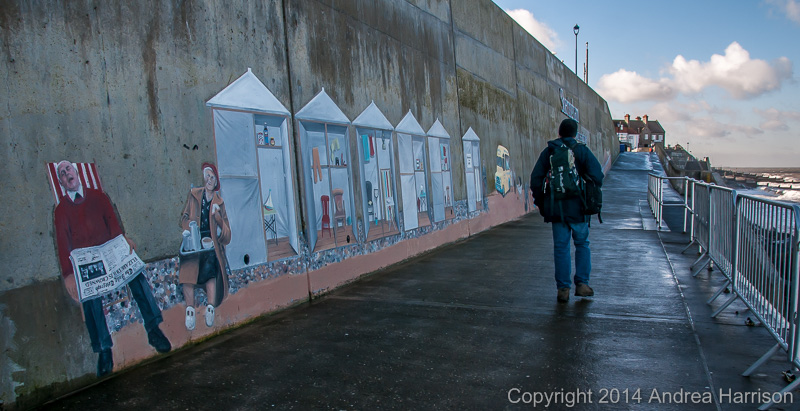
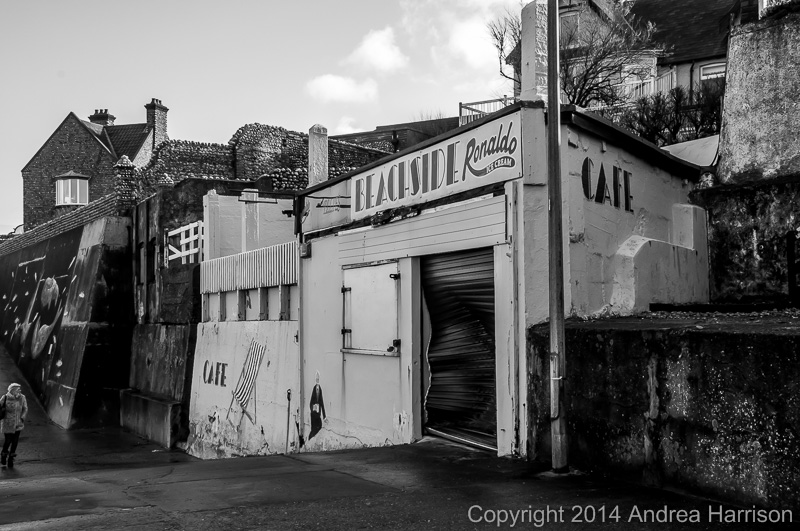
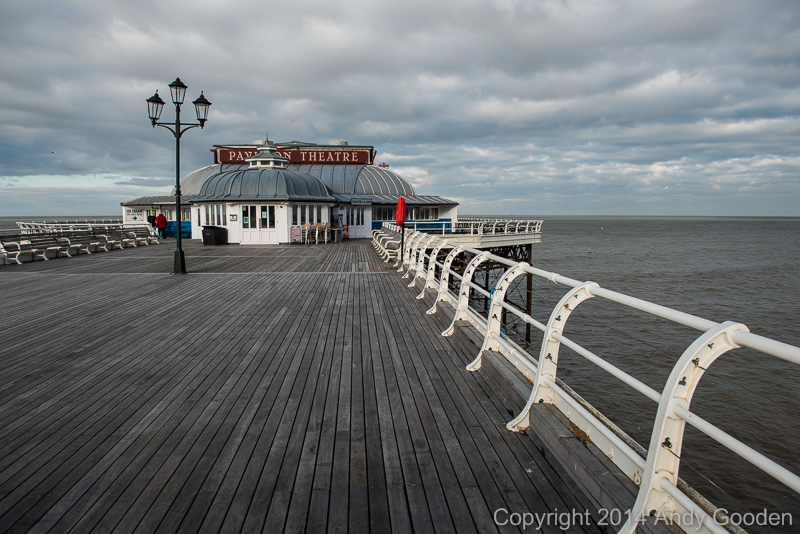
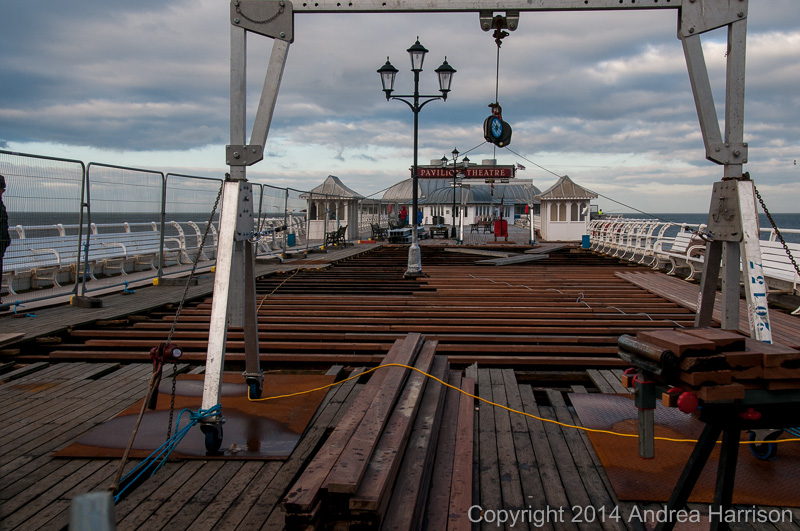
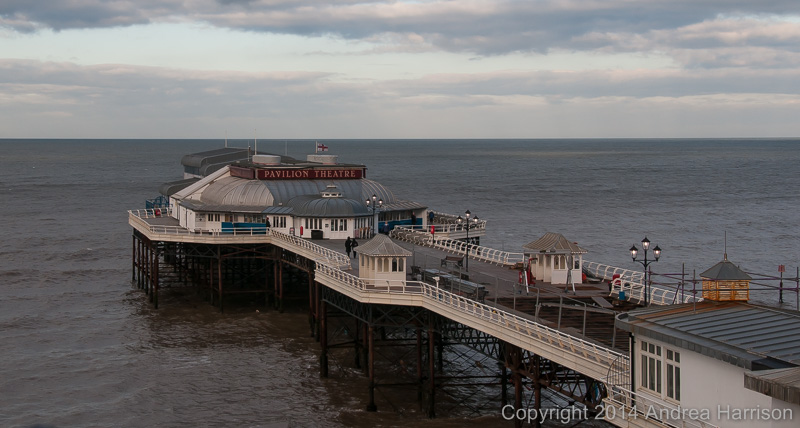
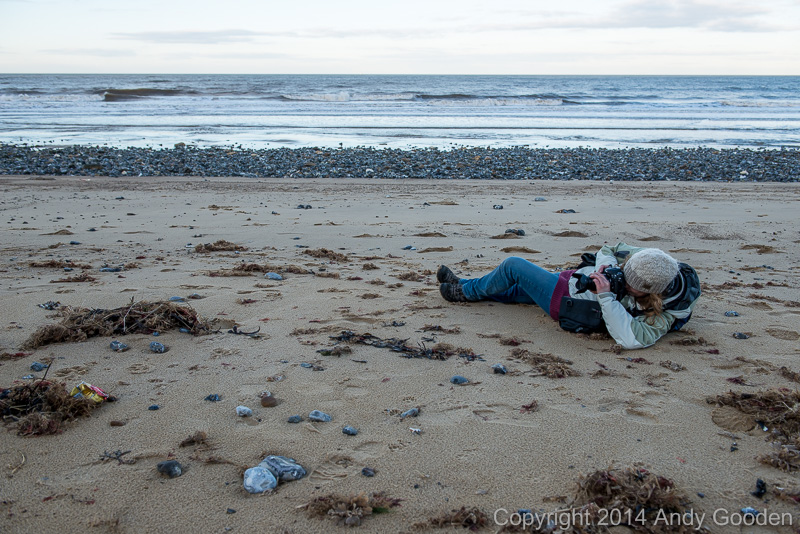
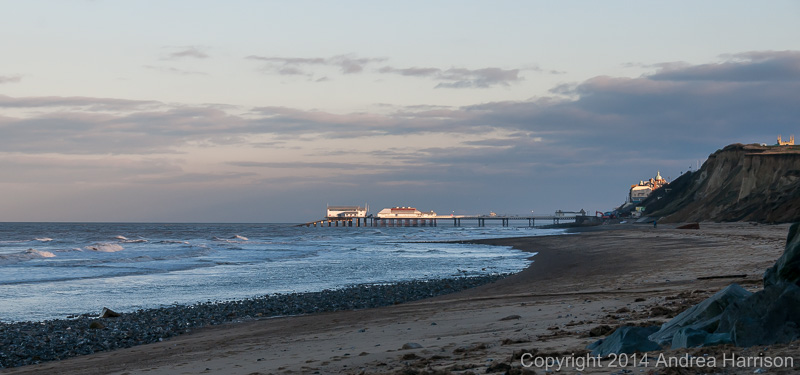
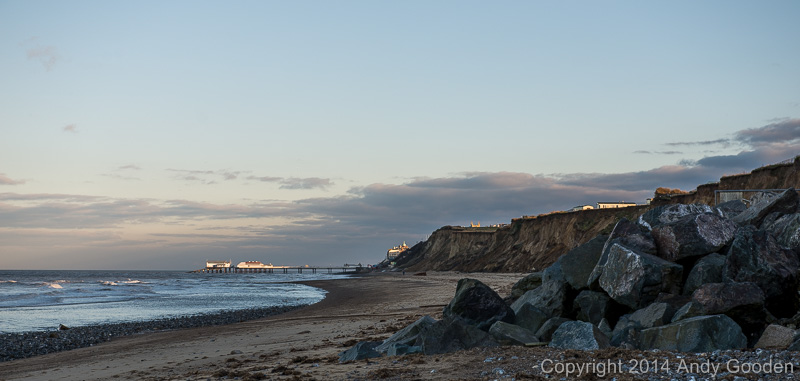
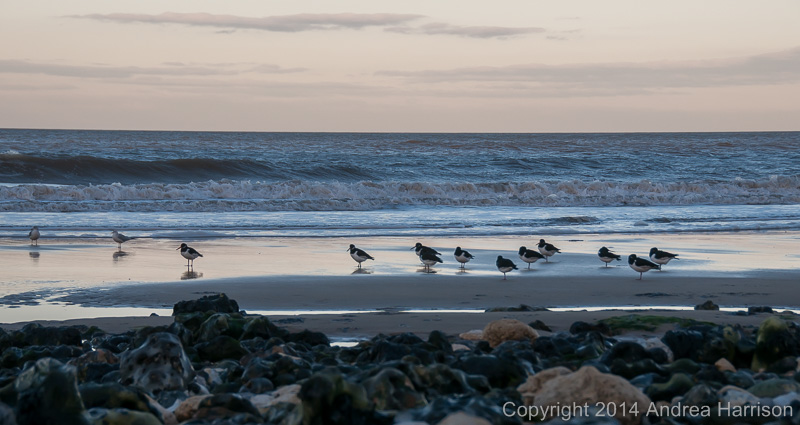
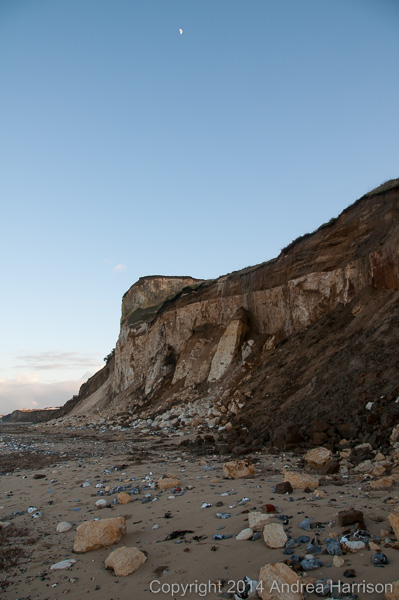
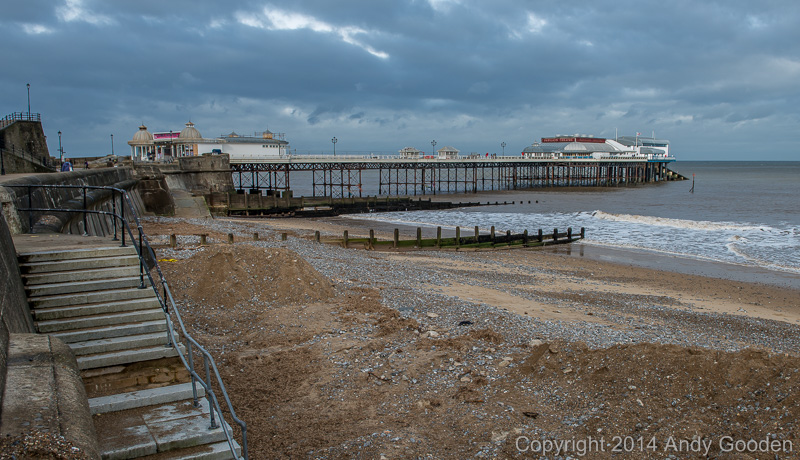
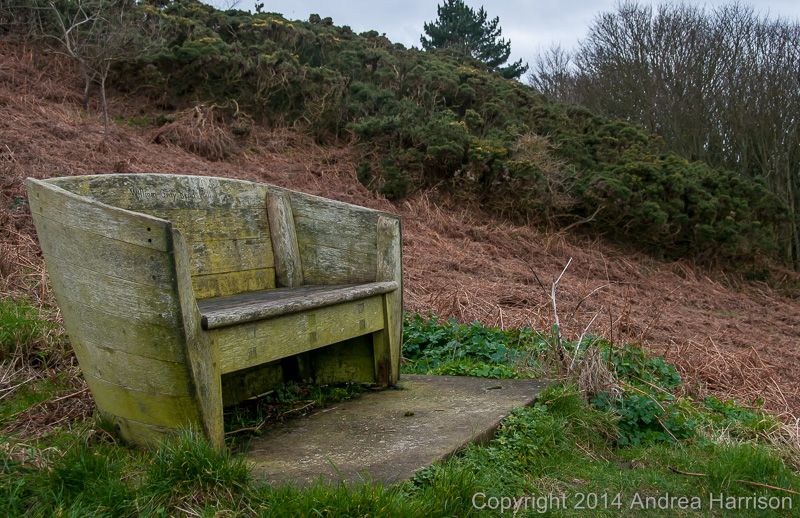
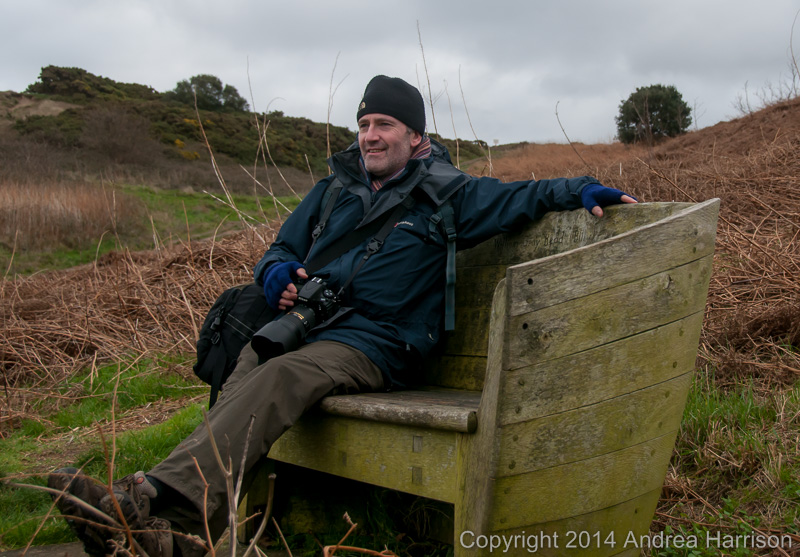
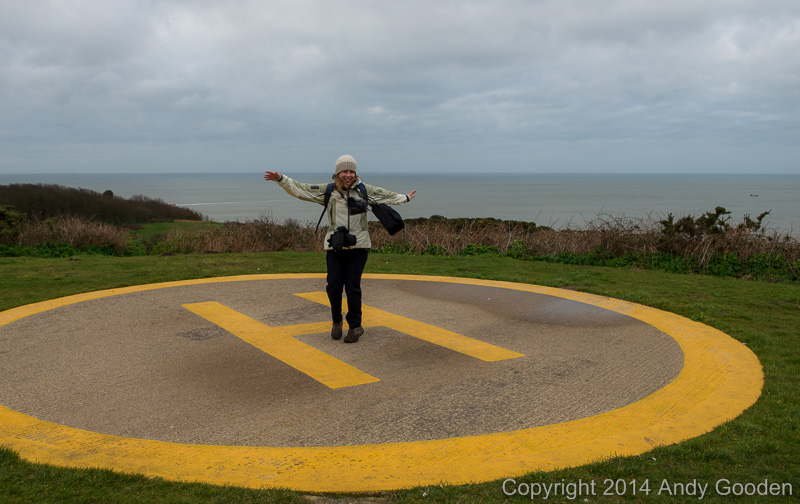
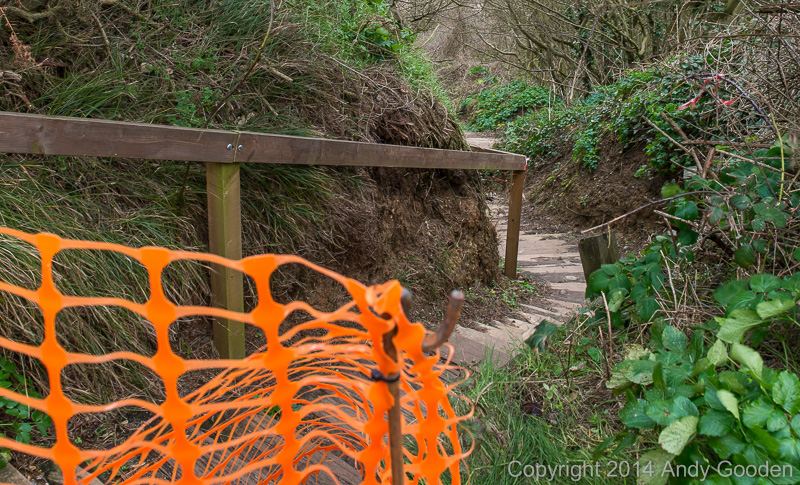
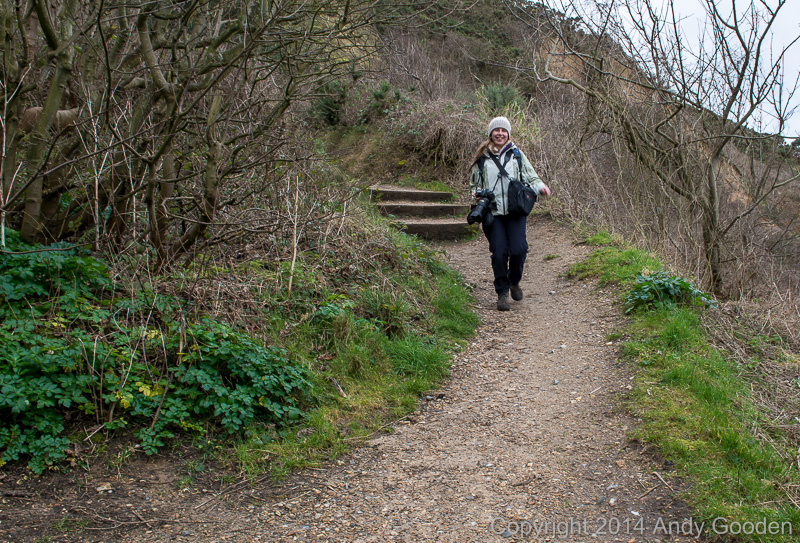
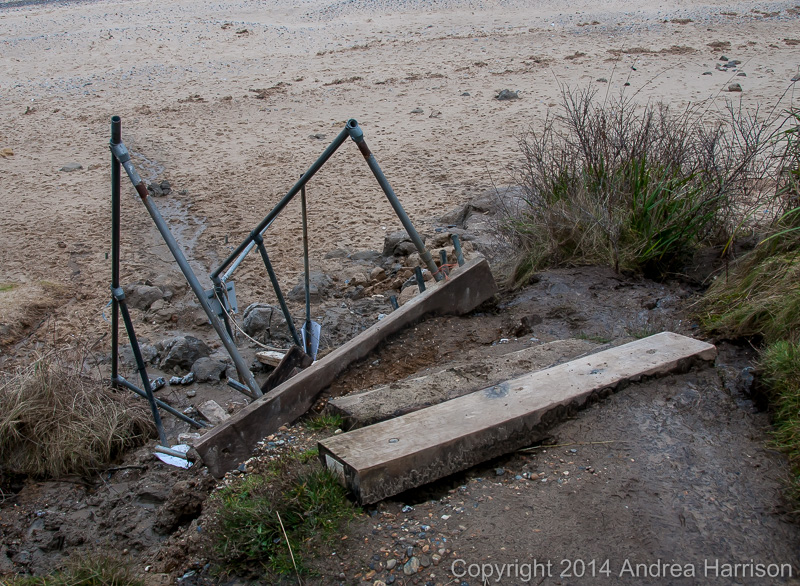
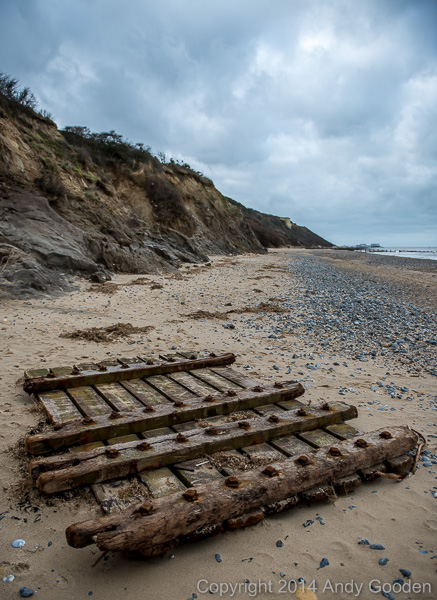
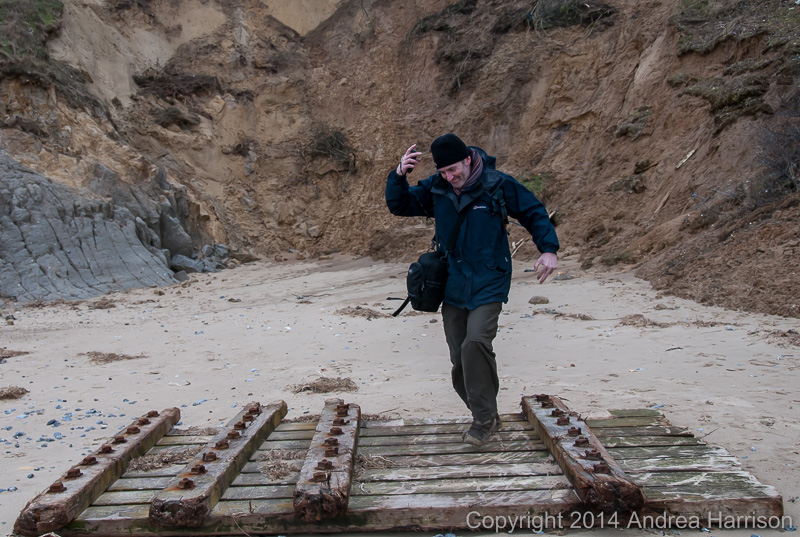
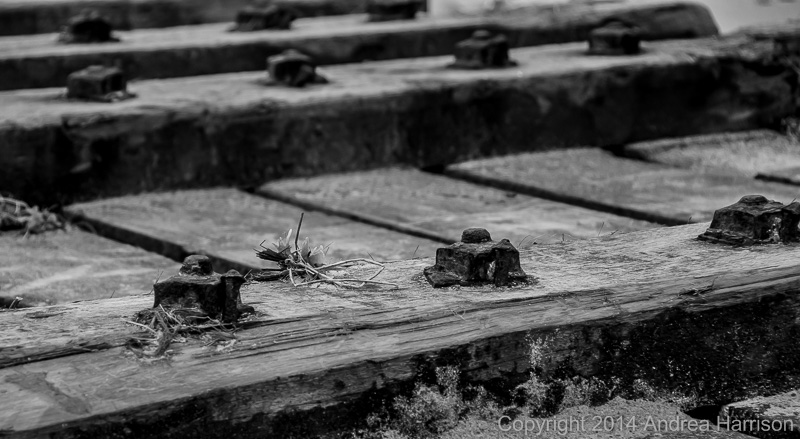
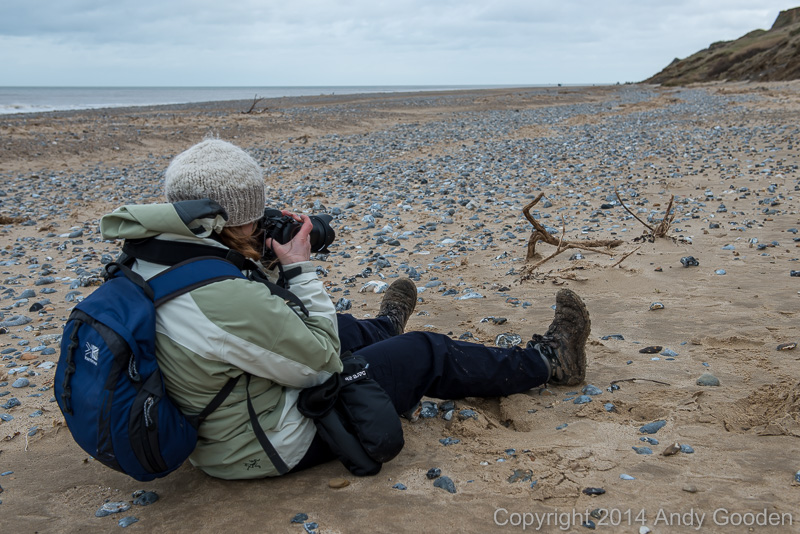
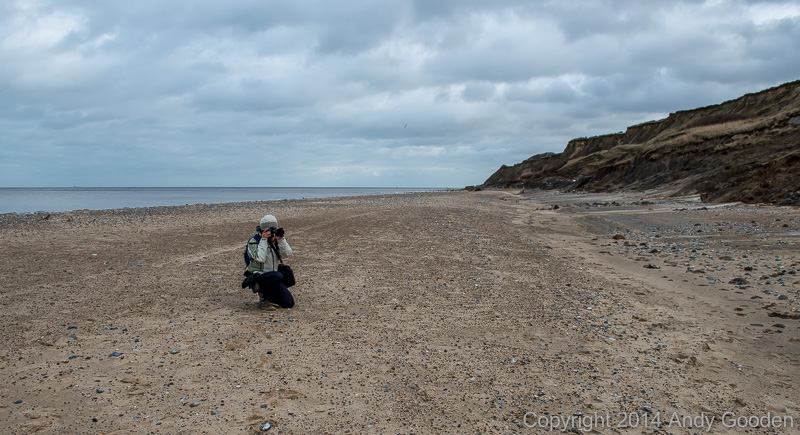
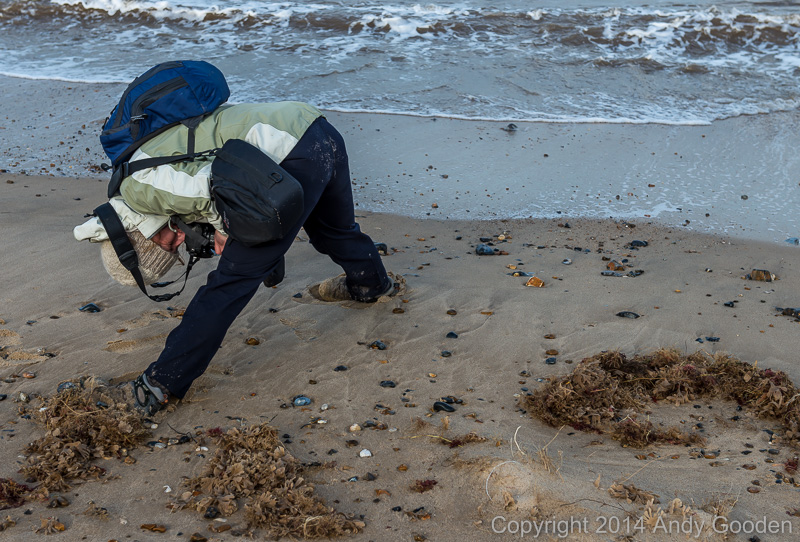
Day 1: Cromer and Sheringham
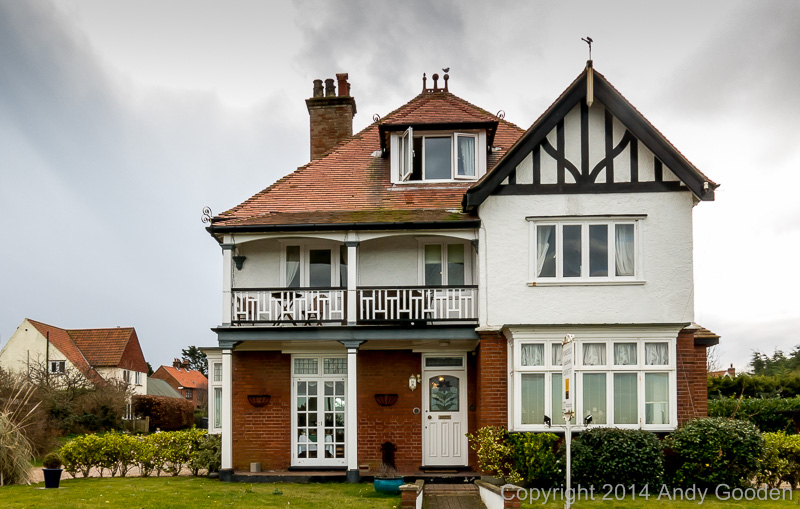
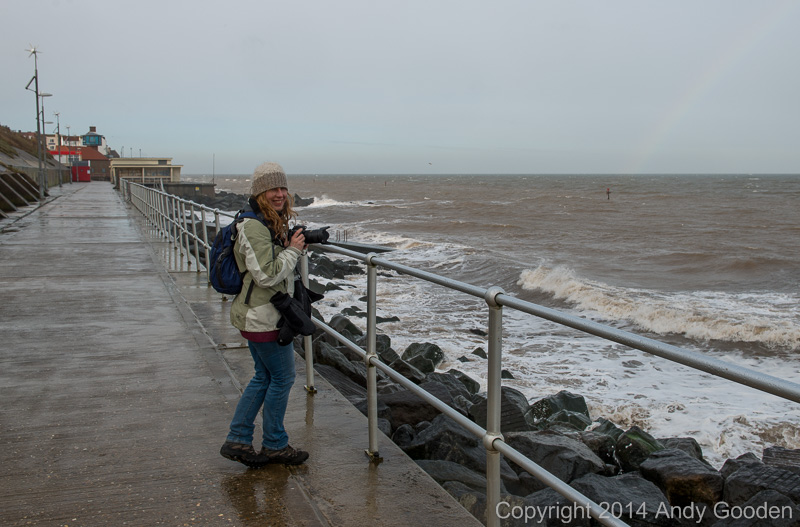
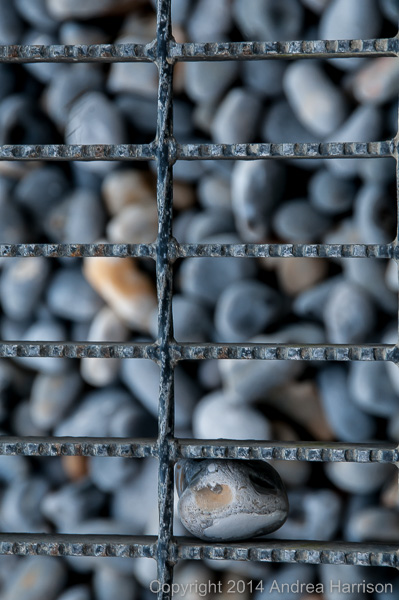
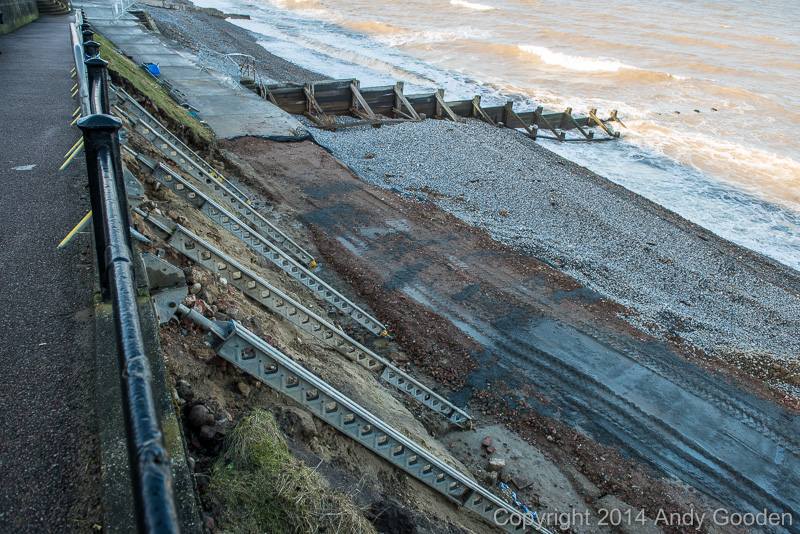
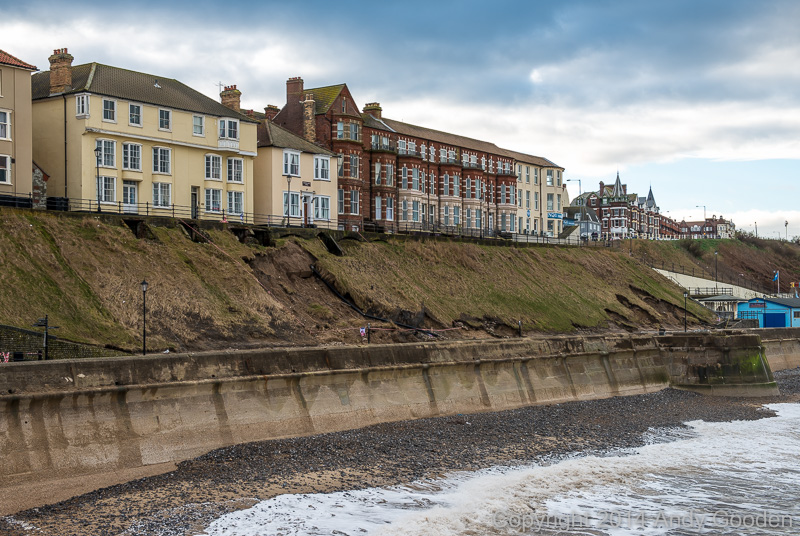
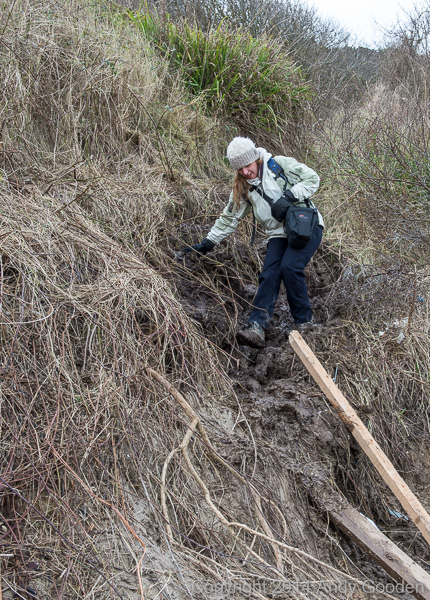
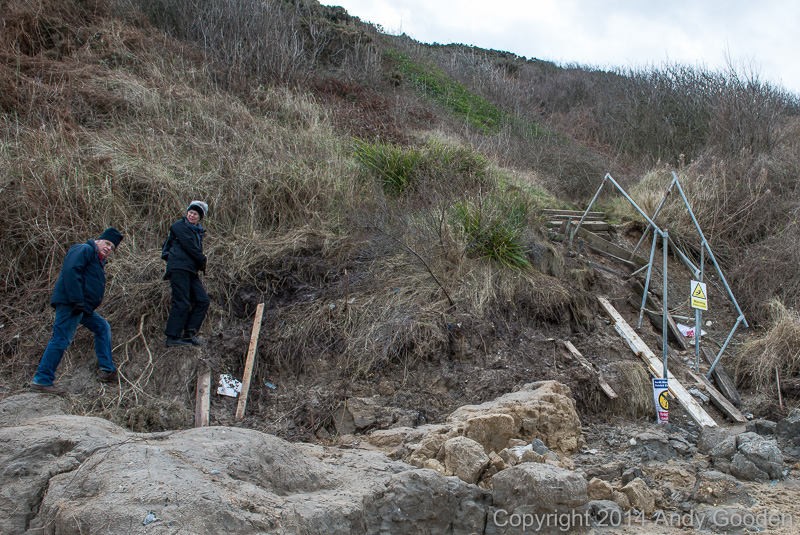
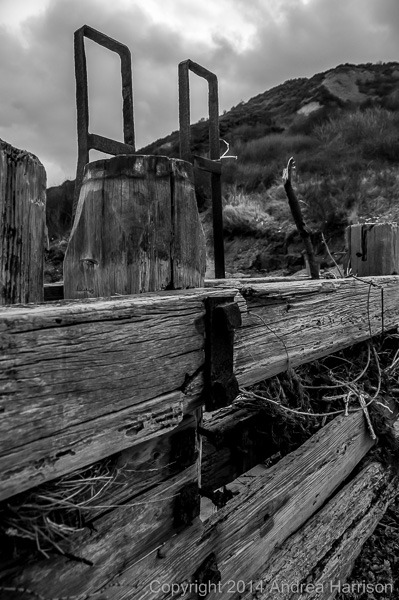
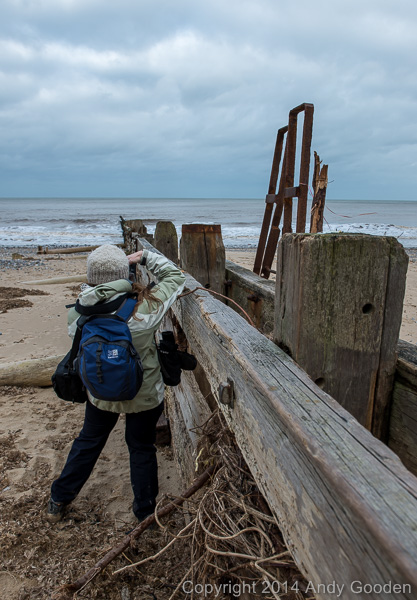
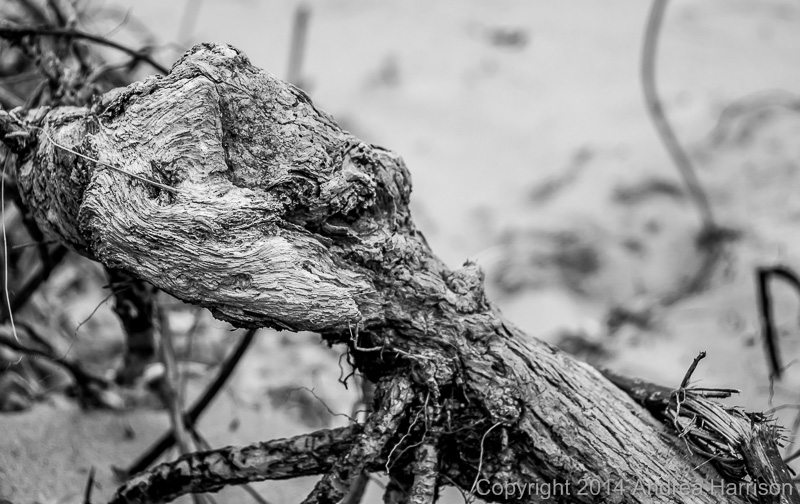
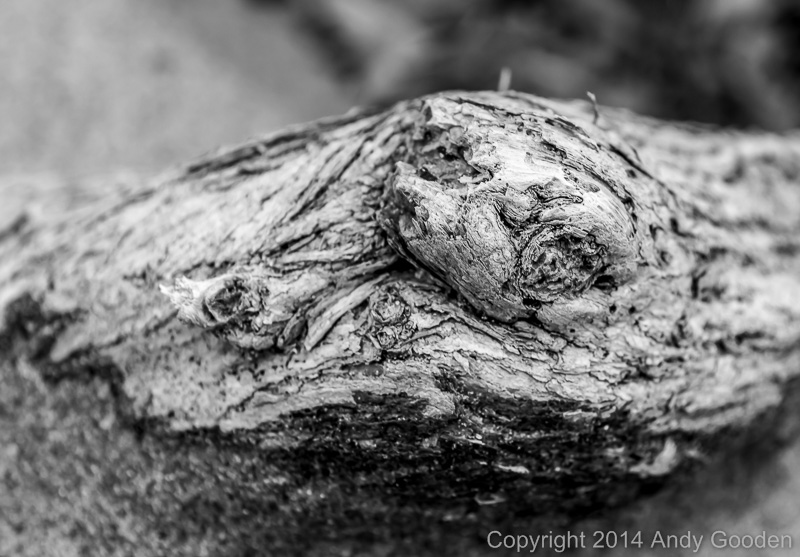
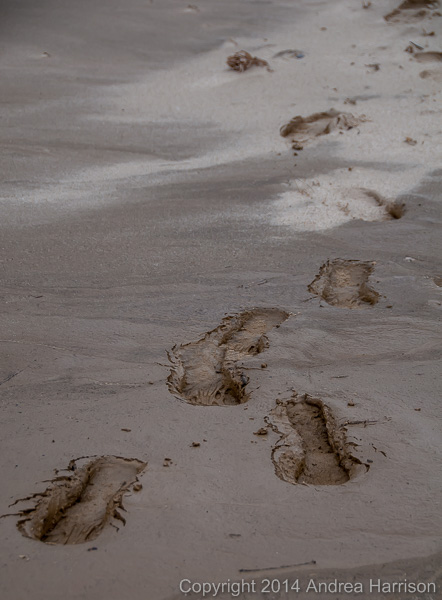
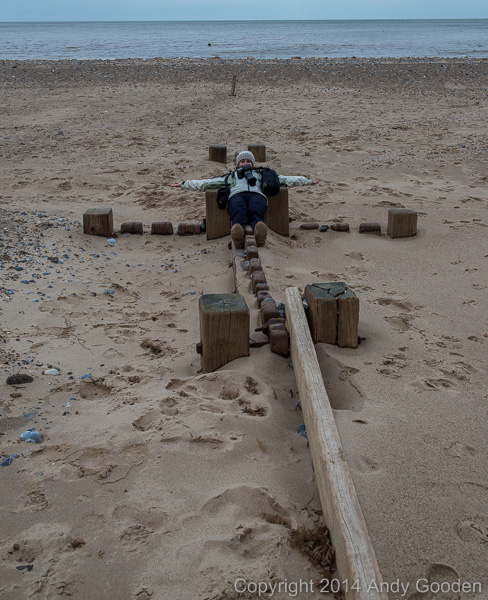
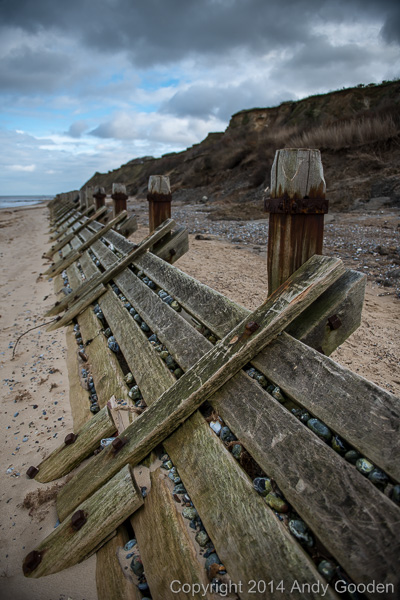
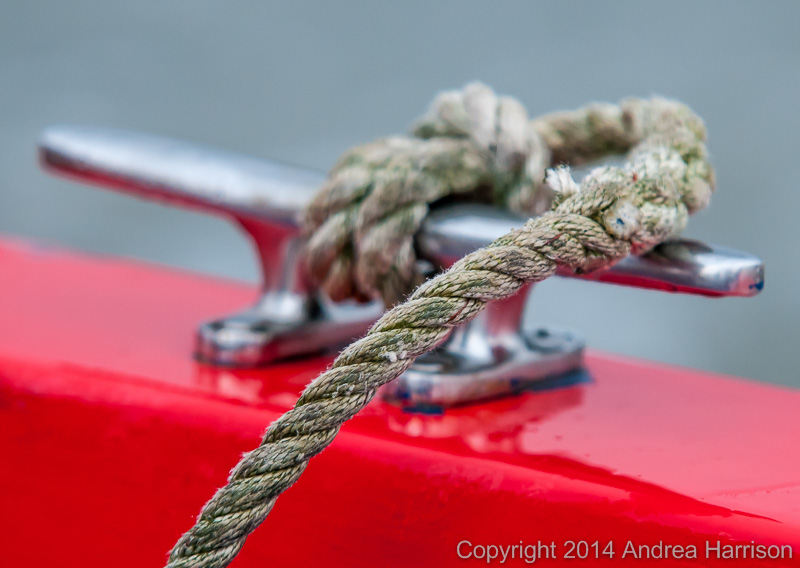
We began with a leisurely walk along the beach from our base in West Runton to Sheringham. Then we boarded the Coasthopper bus to Cromer and, following a nice cream tea and the obligatory visit to the pier, we walked back along the beach to West Runton. The recent storm damage was evident everywhere.


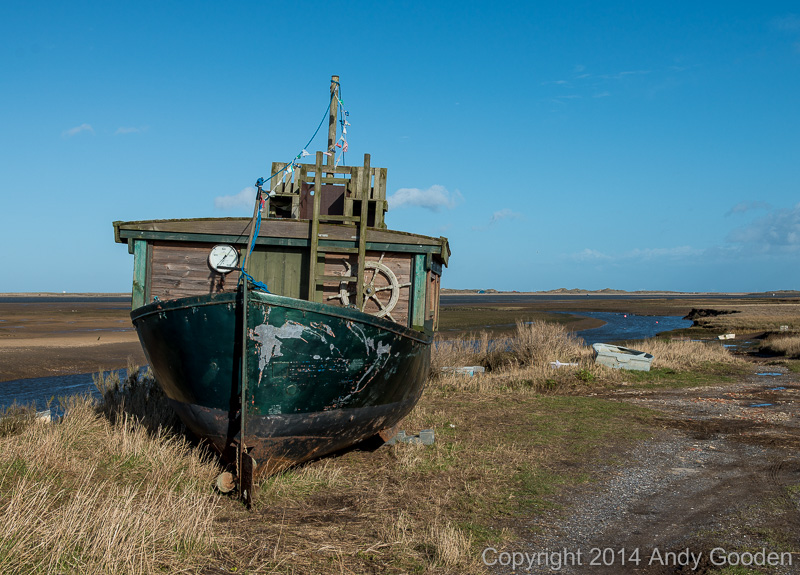
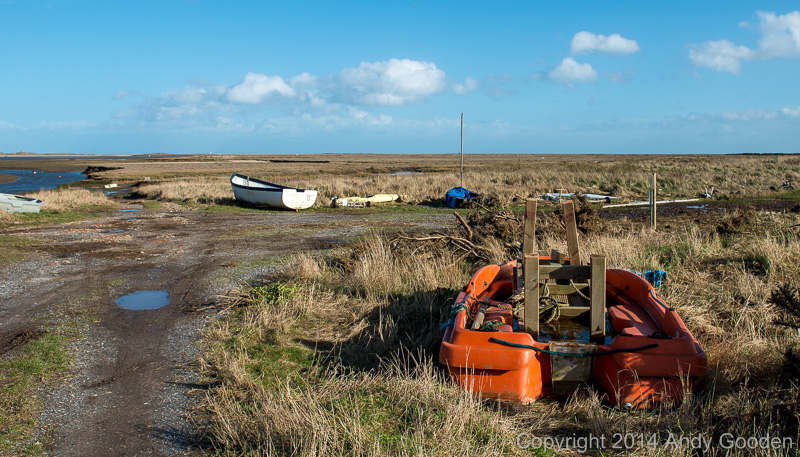
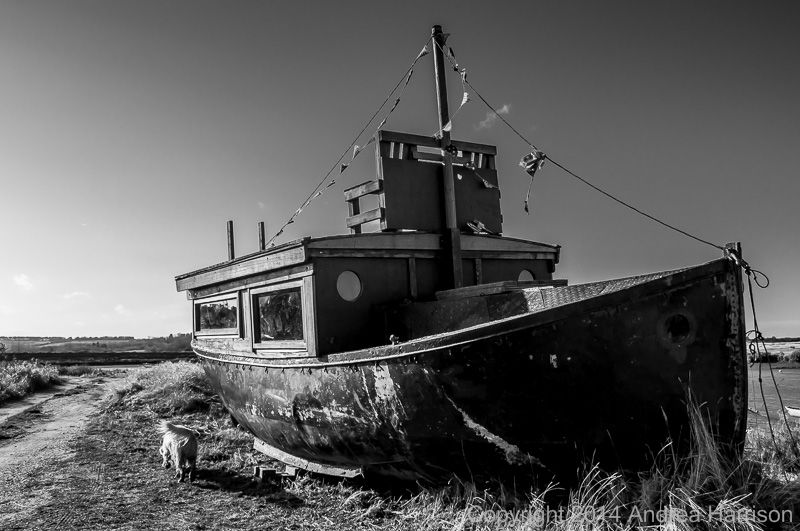
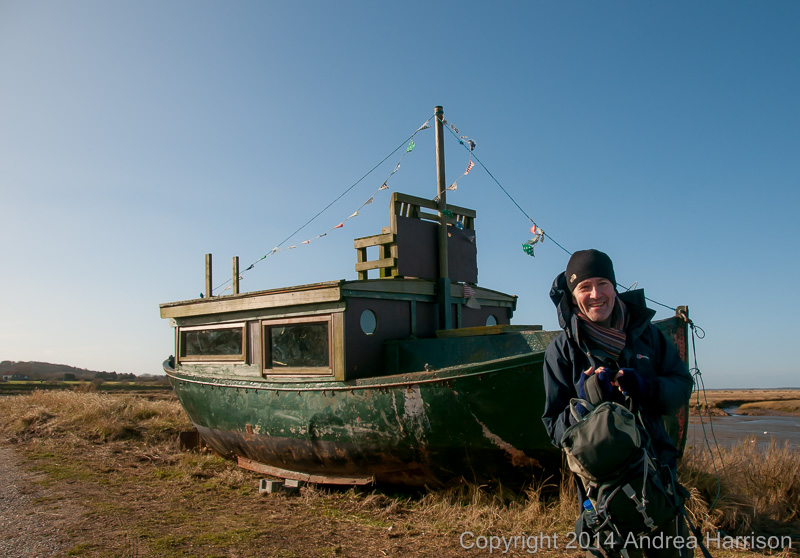
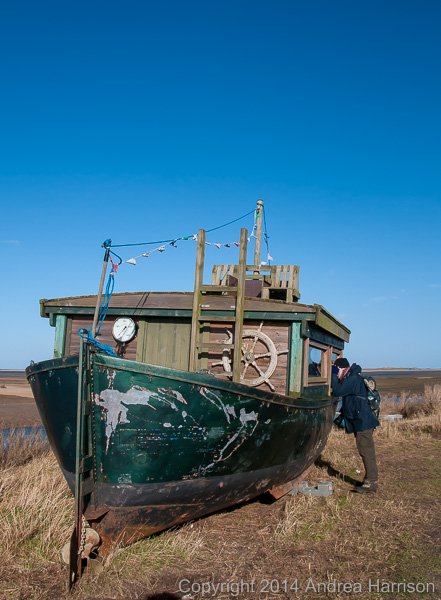
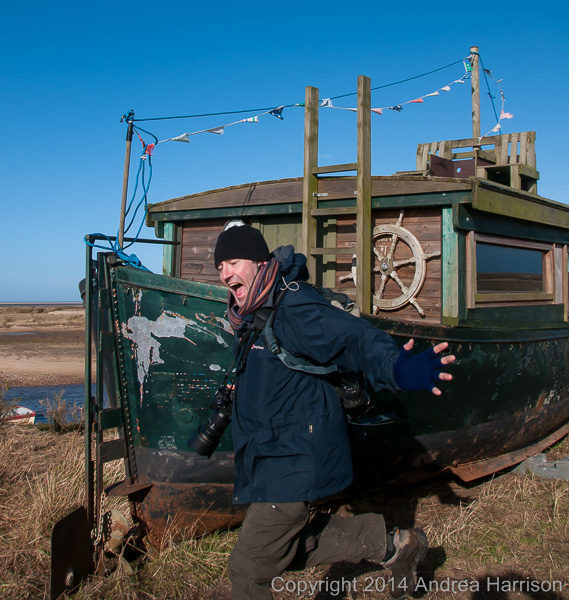
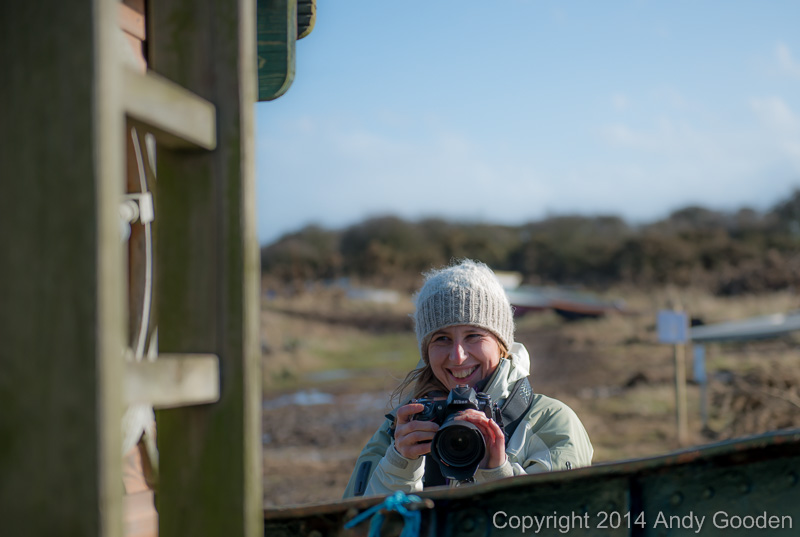
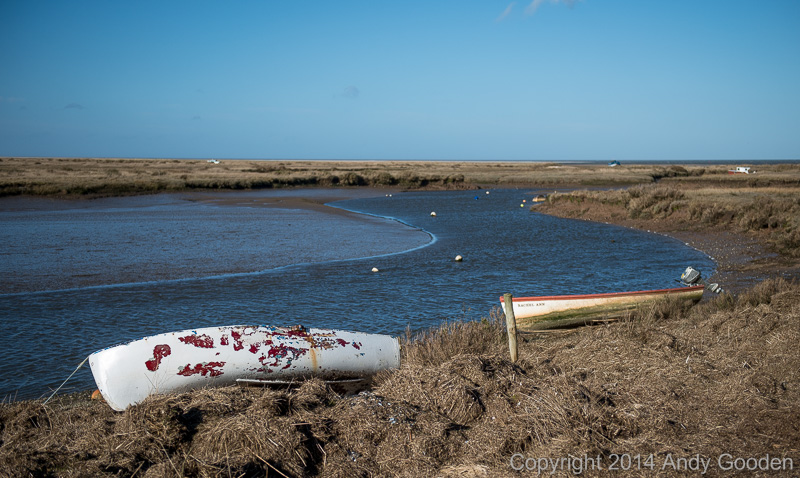
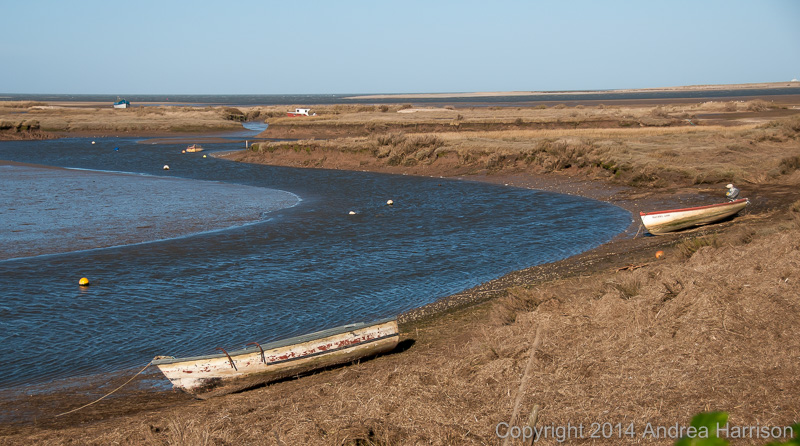
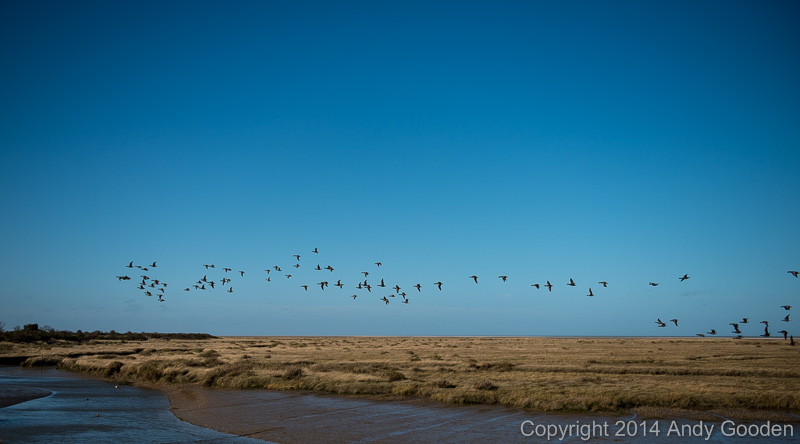
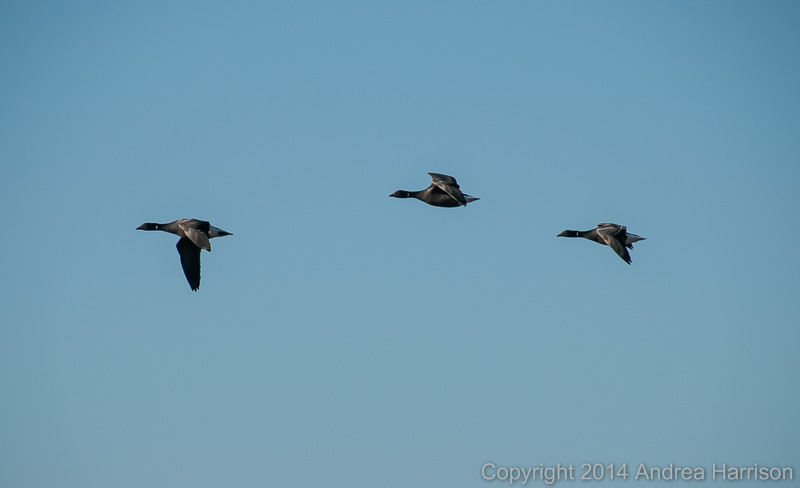
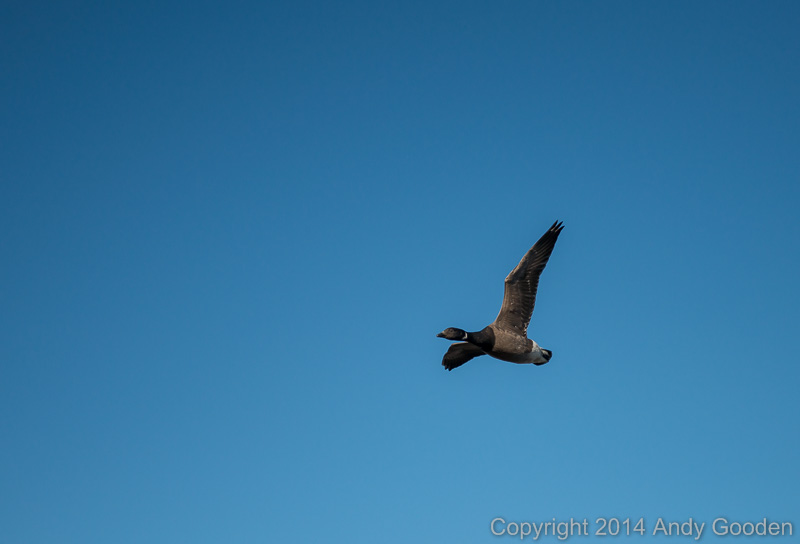
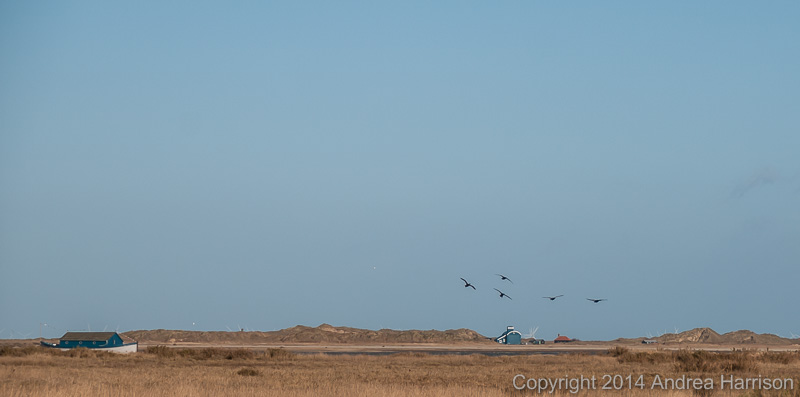
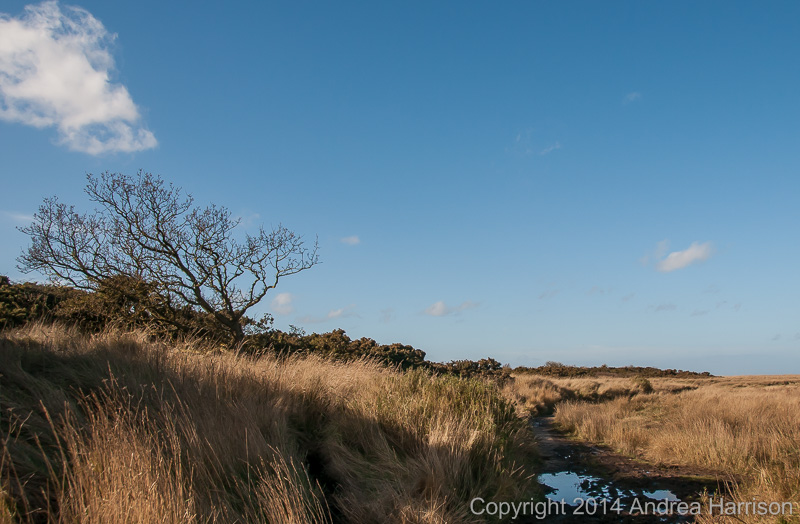
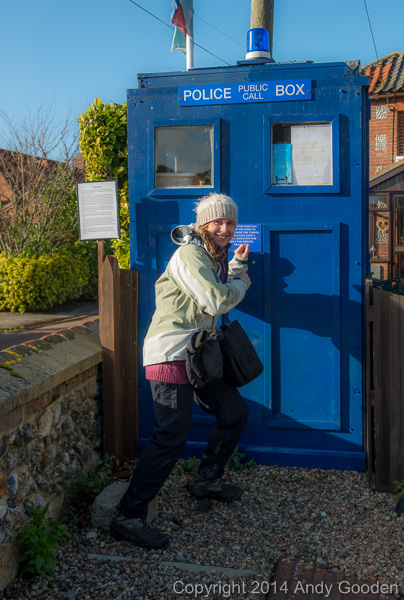
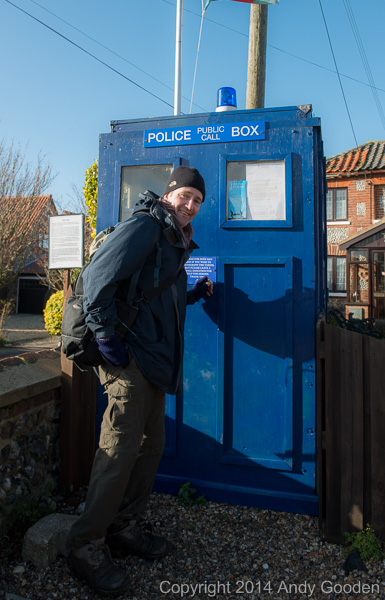
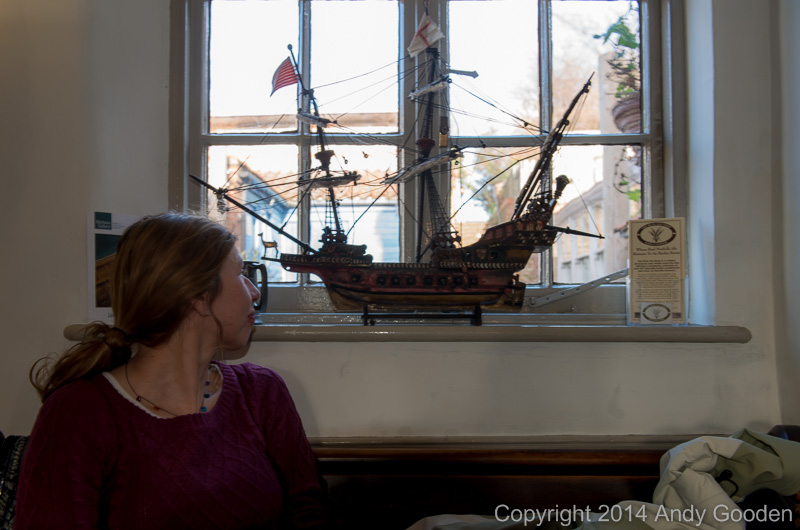
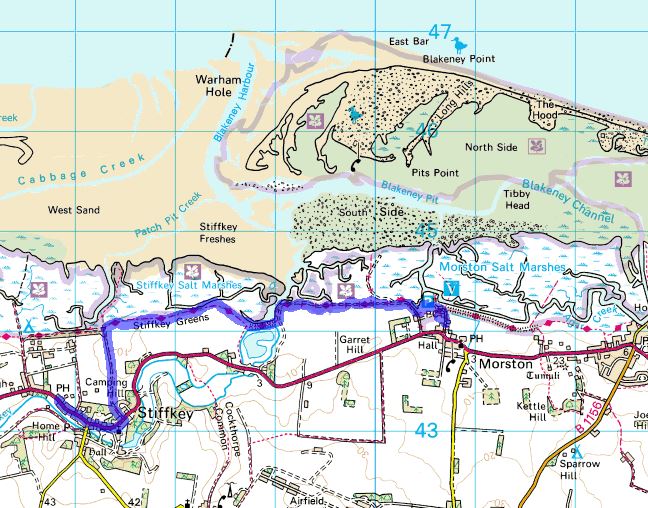
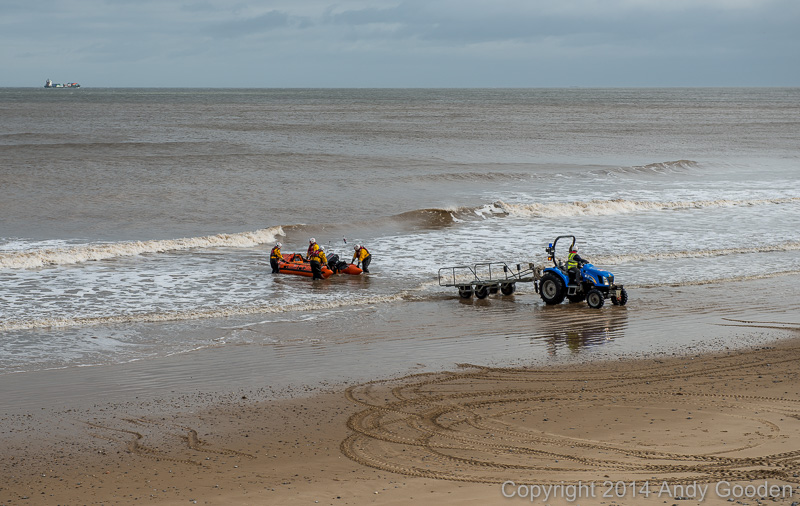
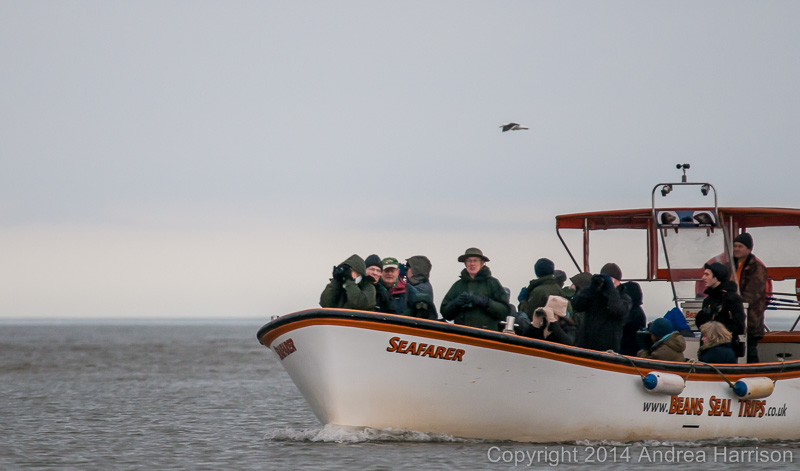
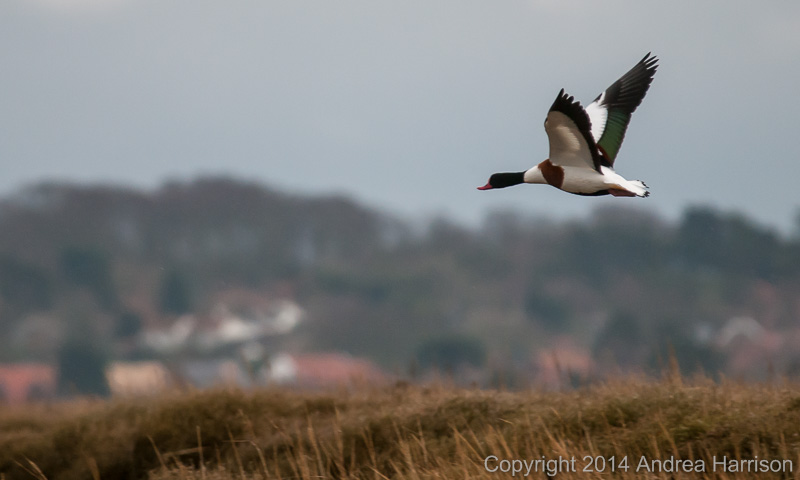
Day 2: Morston to Stiffkey
We had planned on doing a seal trip today but it was called off at the last minute because the 'tide was late'! So we headed towards Stiffkey and a lovely mussel lunch in the Red Lion.


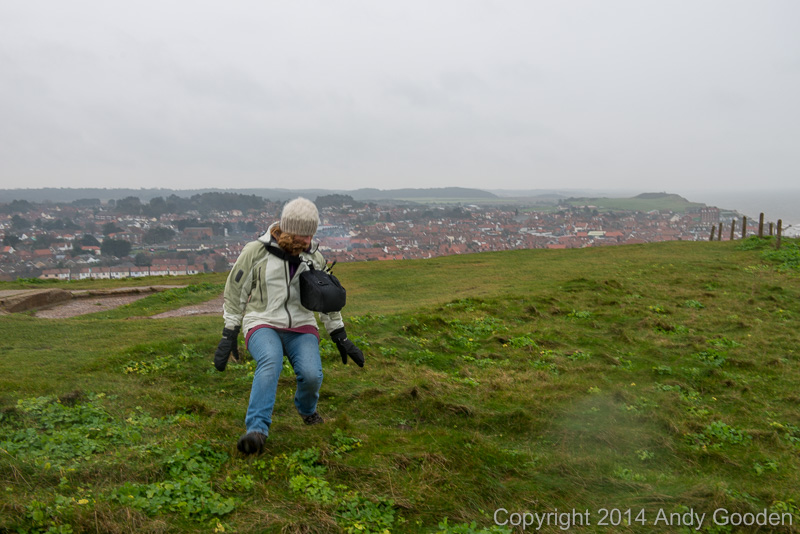
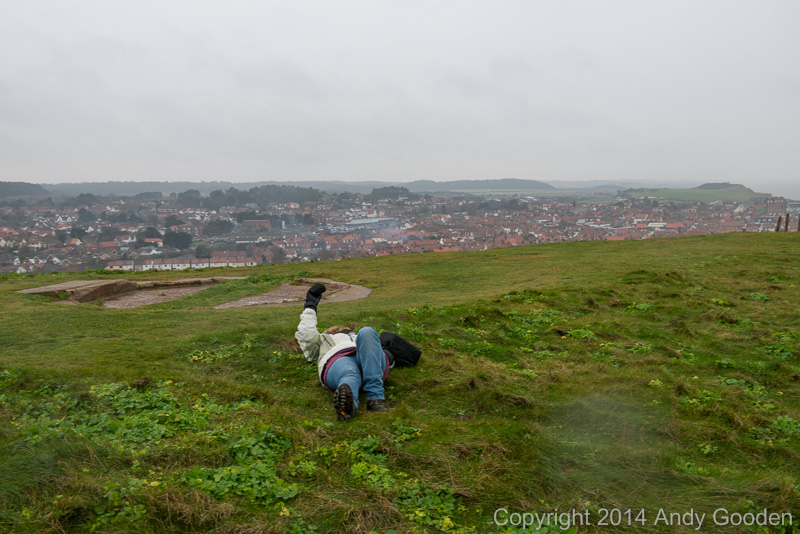
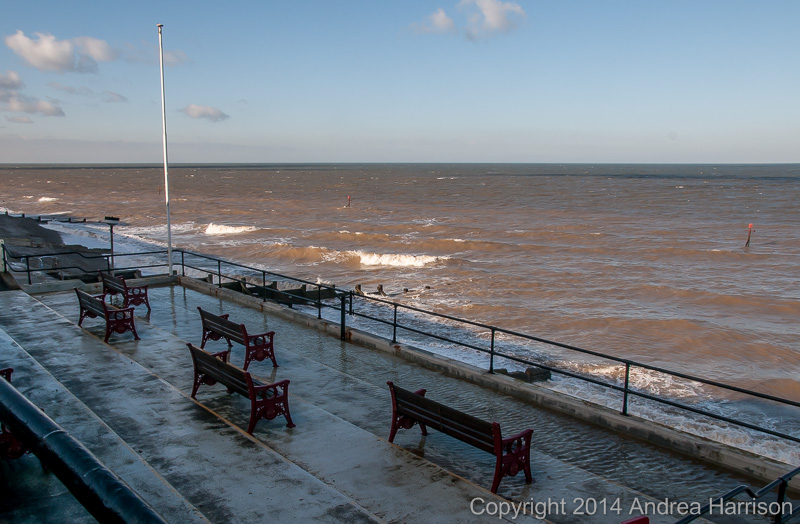
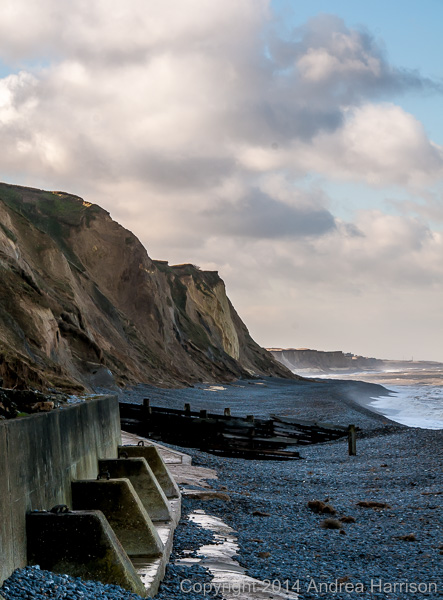
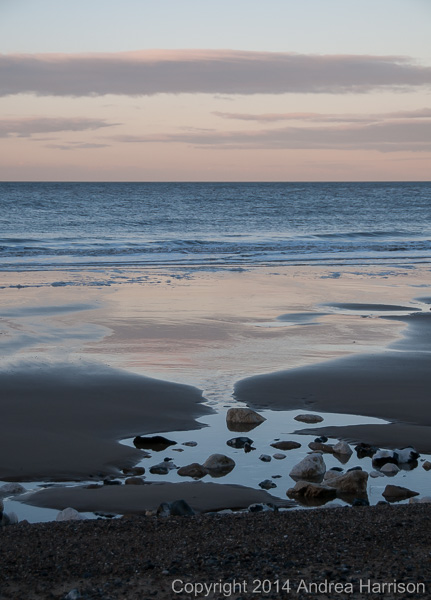
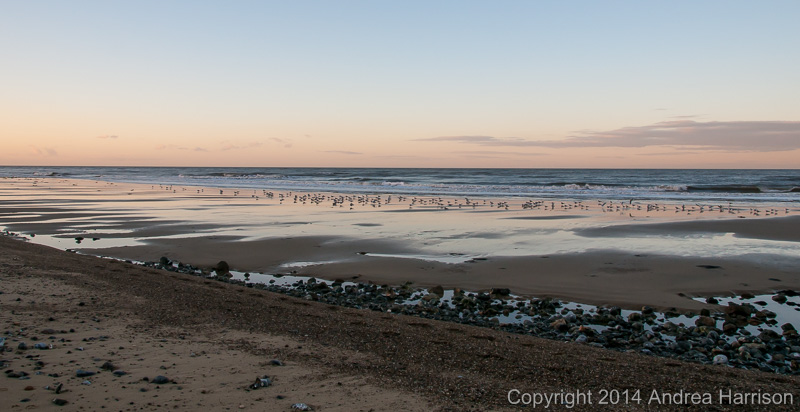
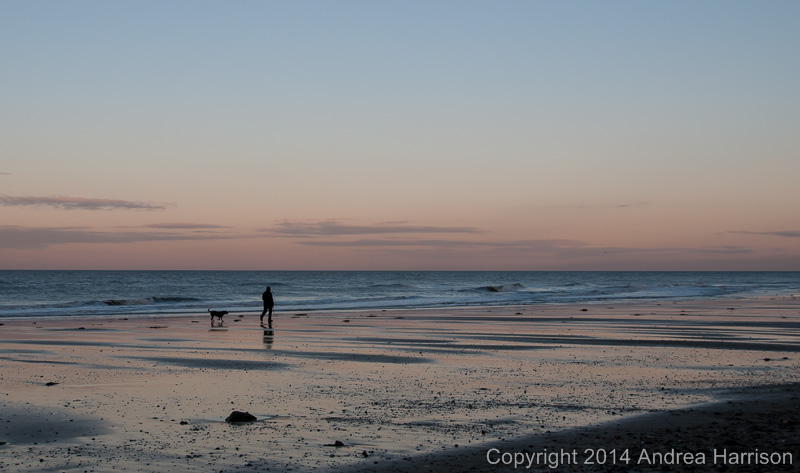
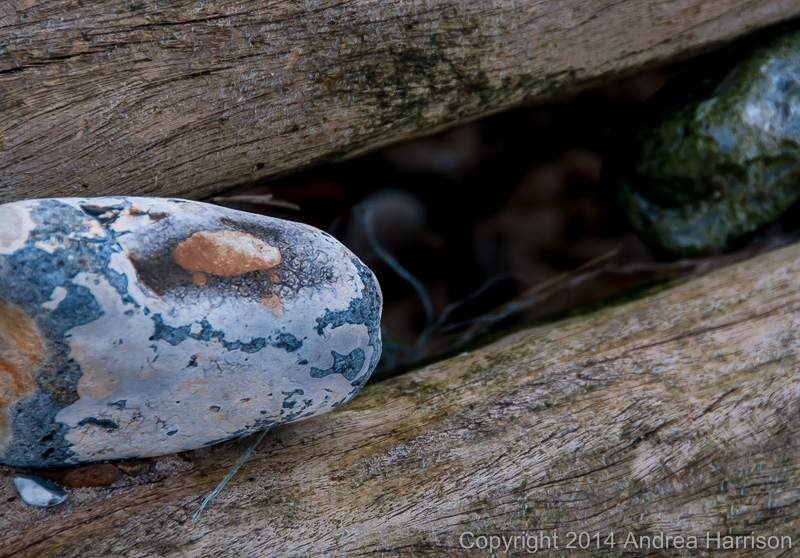
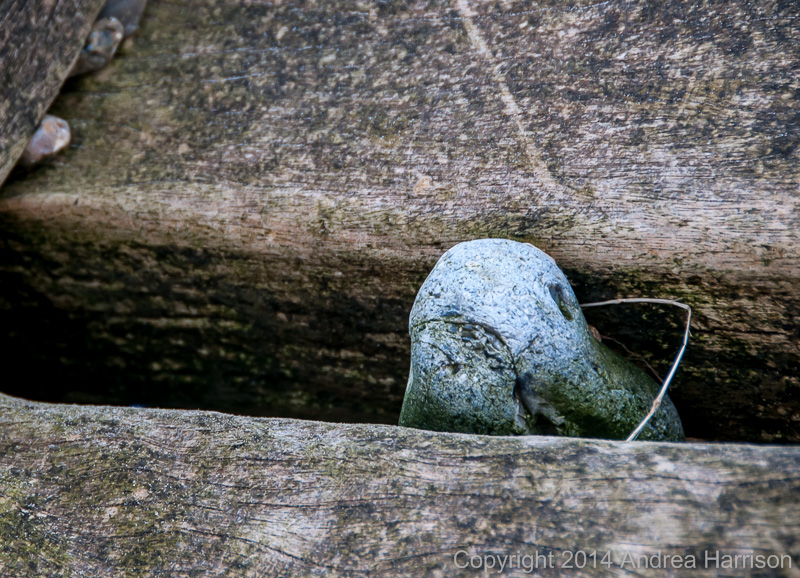
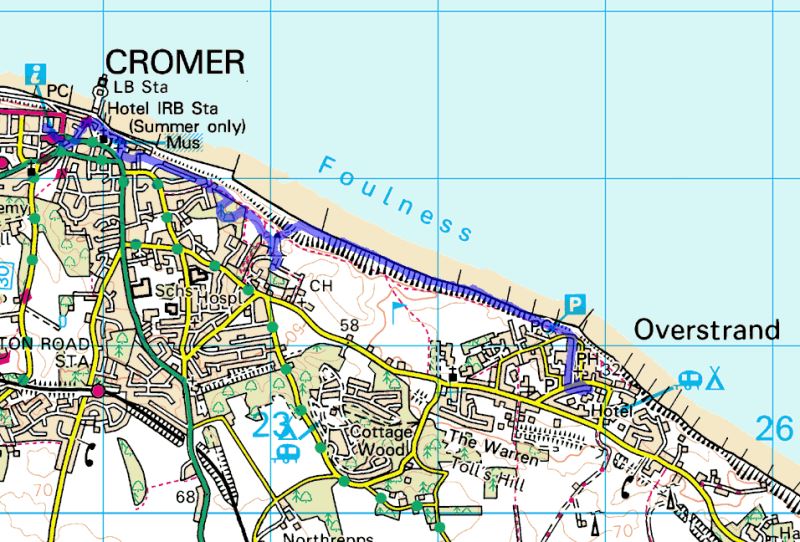
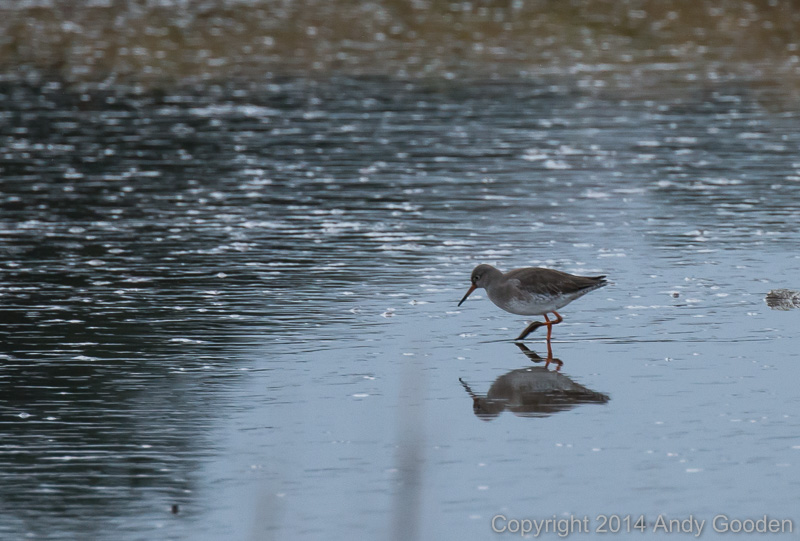
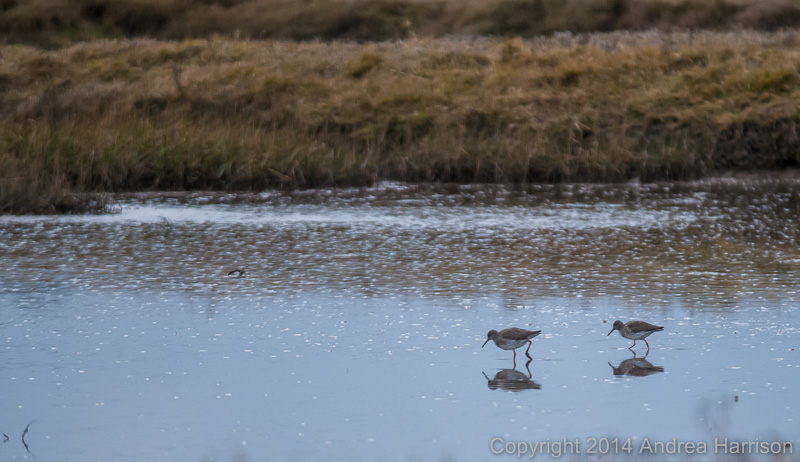
Day 3: Cromer to Overstrand
A lovely 'walk along the beach' day!


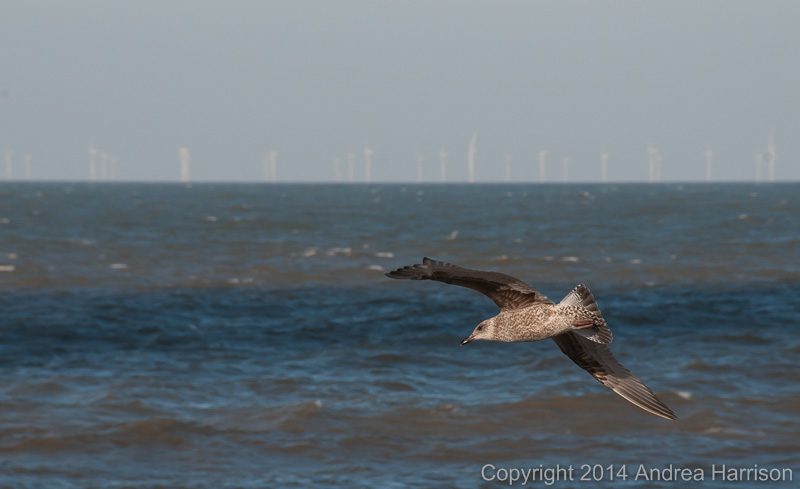
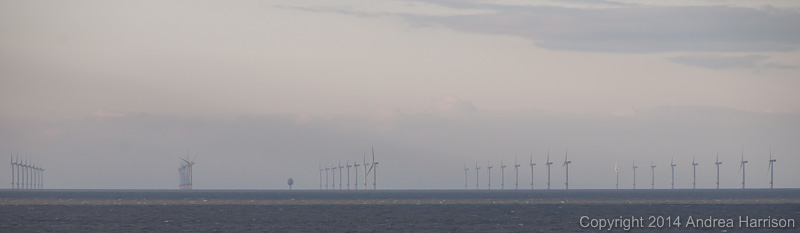
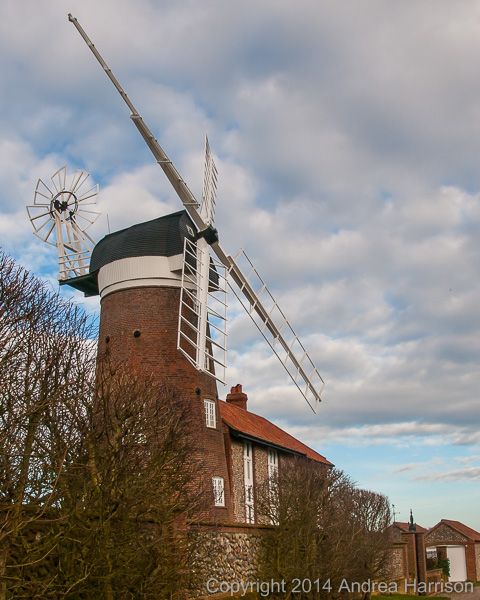
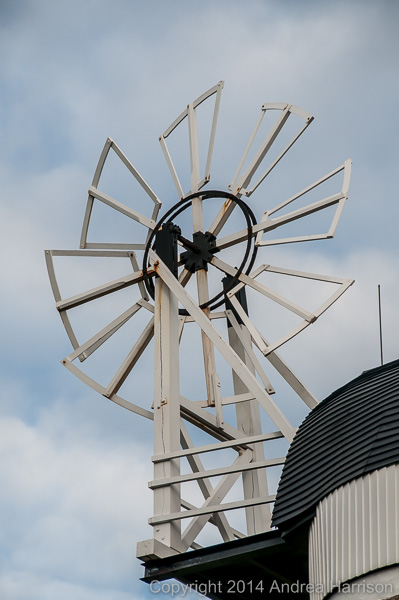
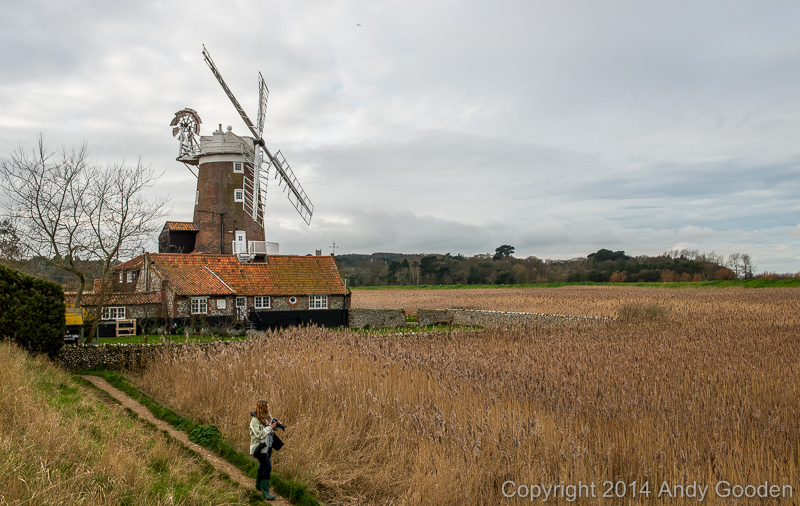
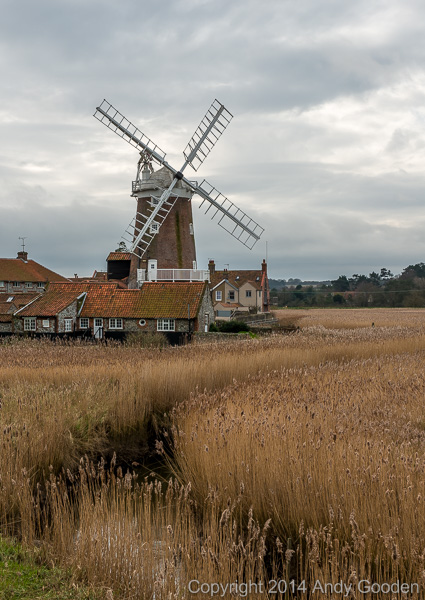
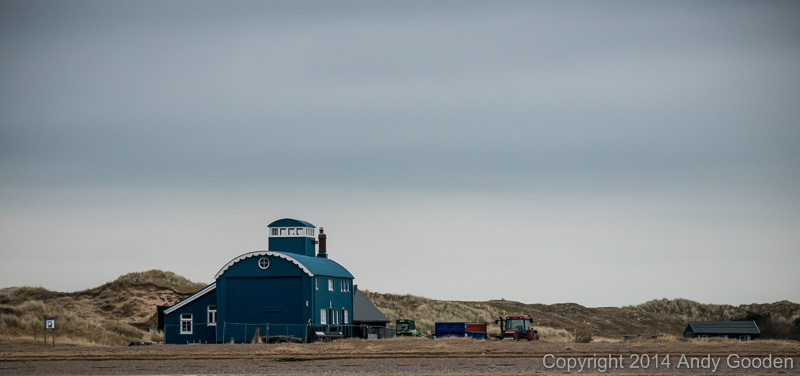
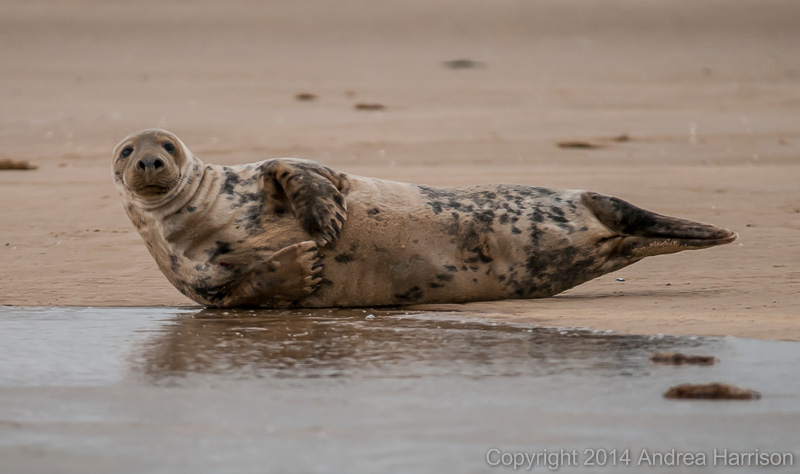
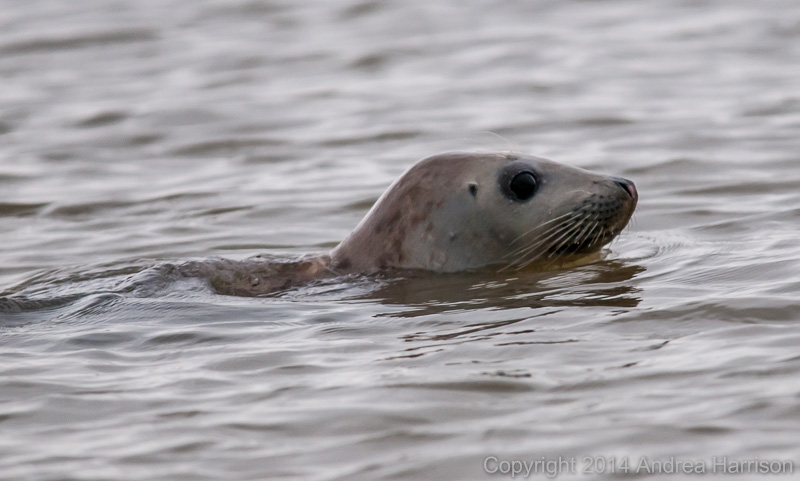
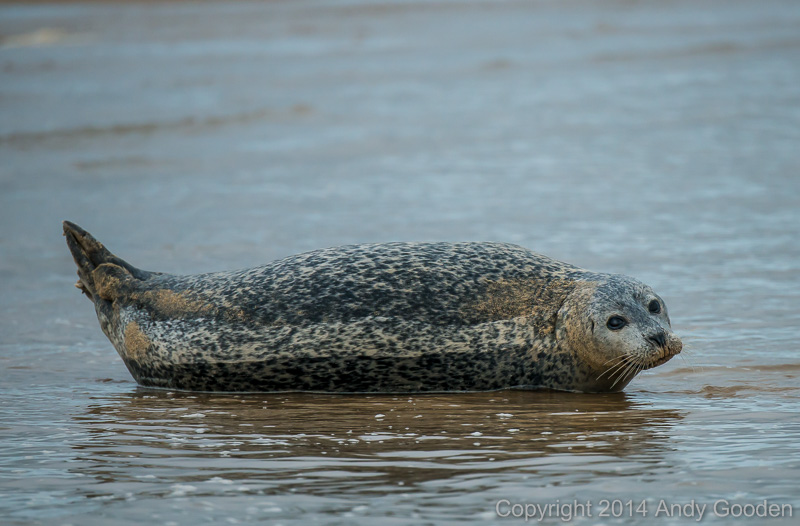
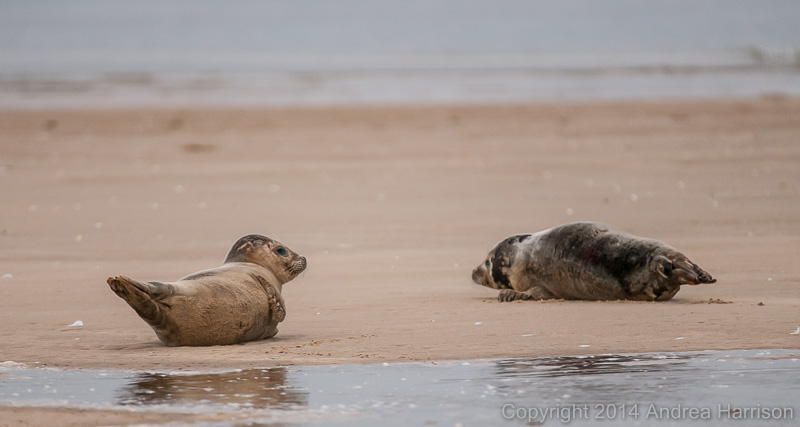
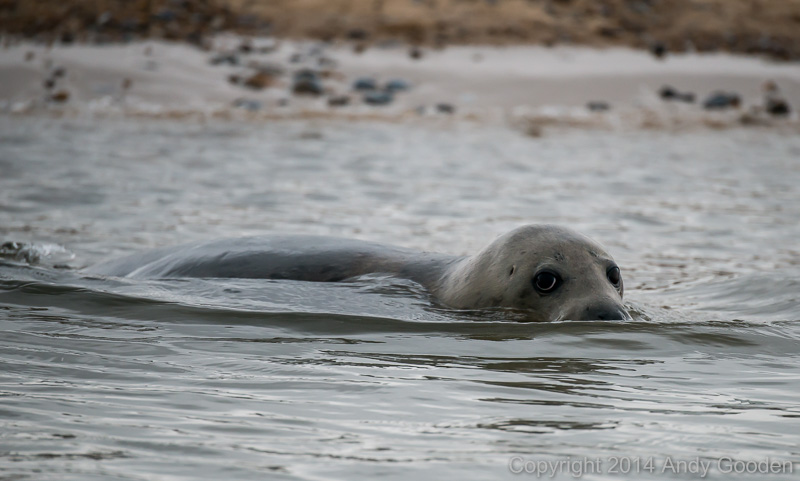
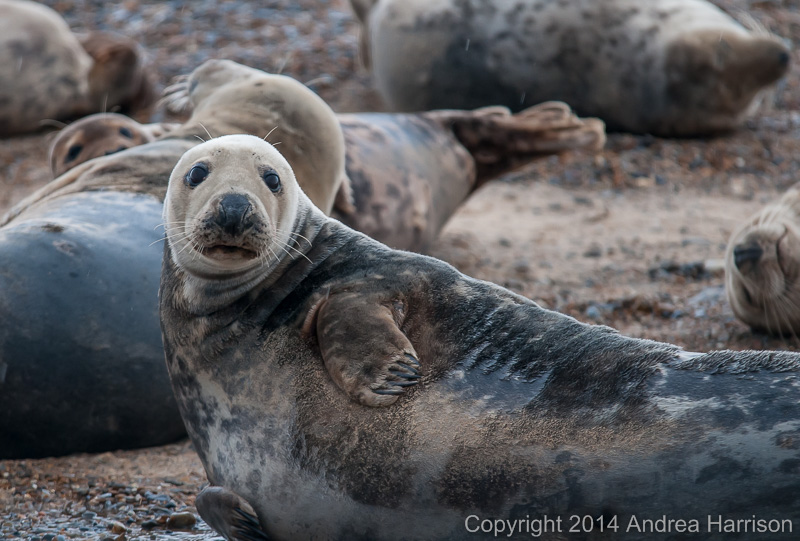
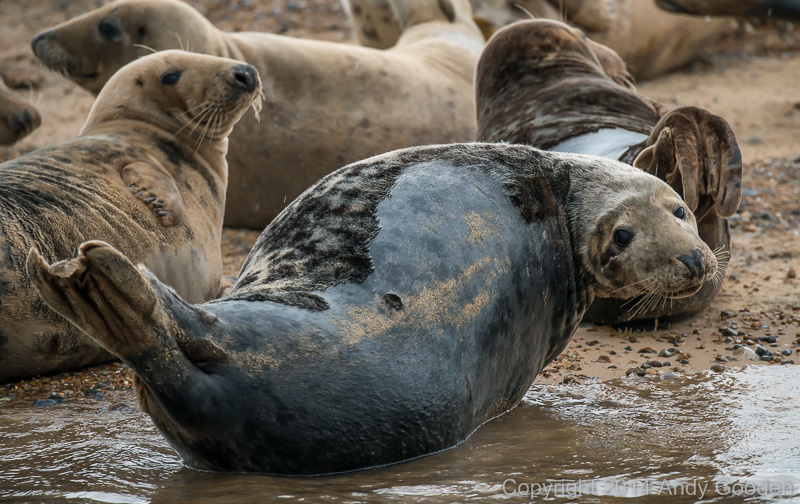
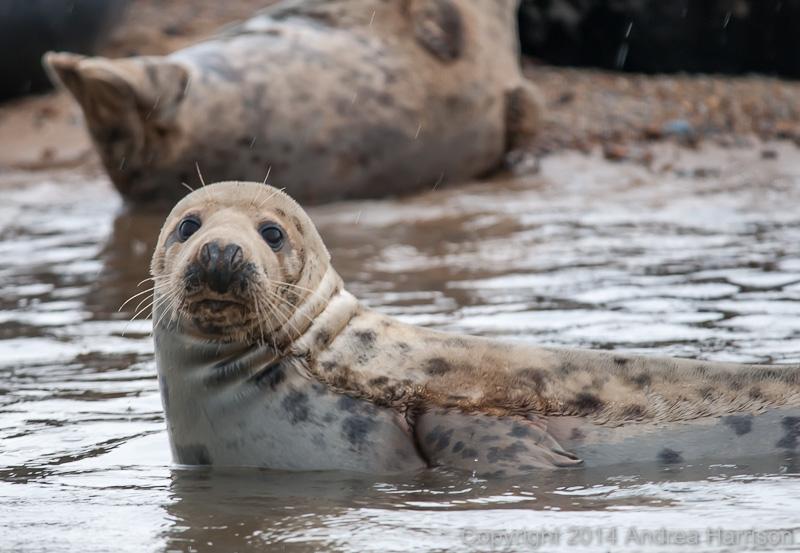
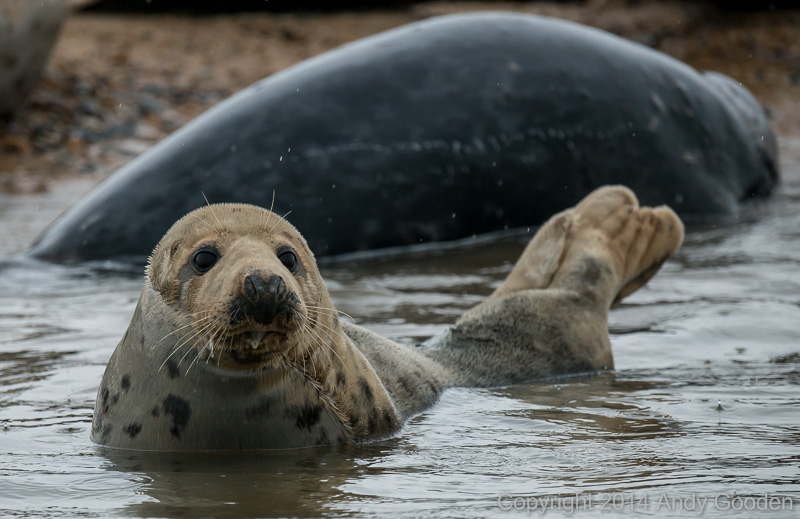
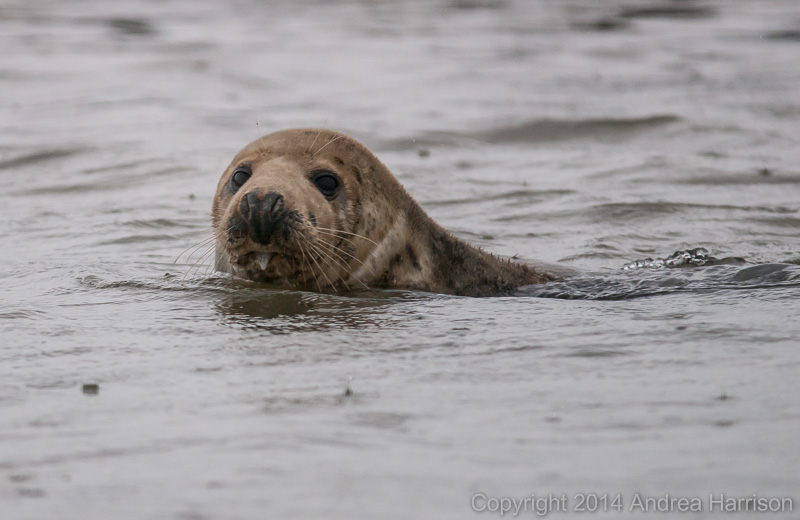
Day 4: Windmills and Seals
We finally get to see the seals!


To view the album, click on a thumbnail. You can navigate through the pictures using the arrow keys on your keyboard or by clicking the 'Prev' or 'Next' links.
You can resize the photos by dragging the handle on the bottom right corner and move them around by dragging anywhere on the image. Click on another thumnail to see two or more images at once.
- Keyboard shortcuts:
- Home - Jump to first image
- Right or Down arrow - Next image
- Left or Up arrow - Previous image
- End - Jump to last image
- Esc - Close current image
Copyright © 2014 Andy Gooden